The list below runs from a seating chart and a wedding cake to family portraits and buffer time, and what decides which of them you need is how many people have to be in the same place at the same time.
A small wedding with only a couple of vendors can keep its timeline in a shared Google Sheet, and that is enough to keep communication with vendors clear.
1. Seating Chart
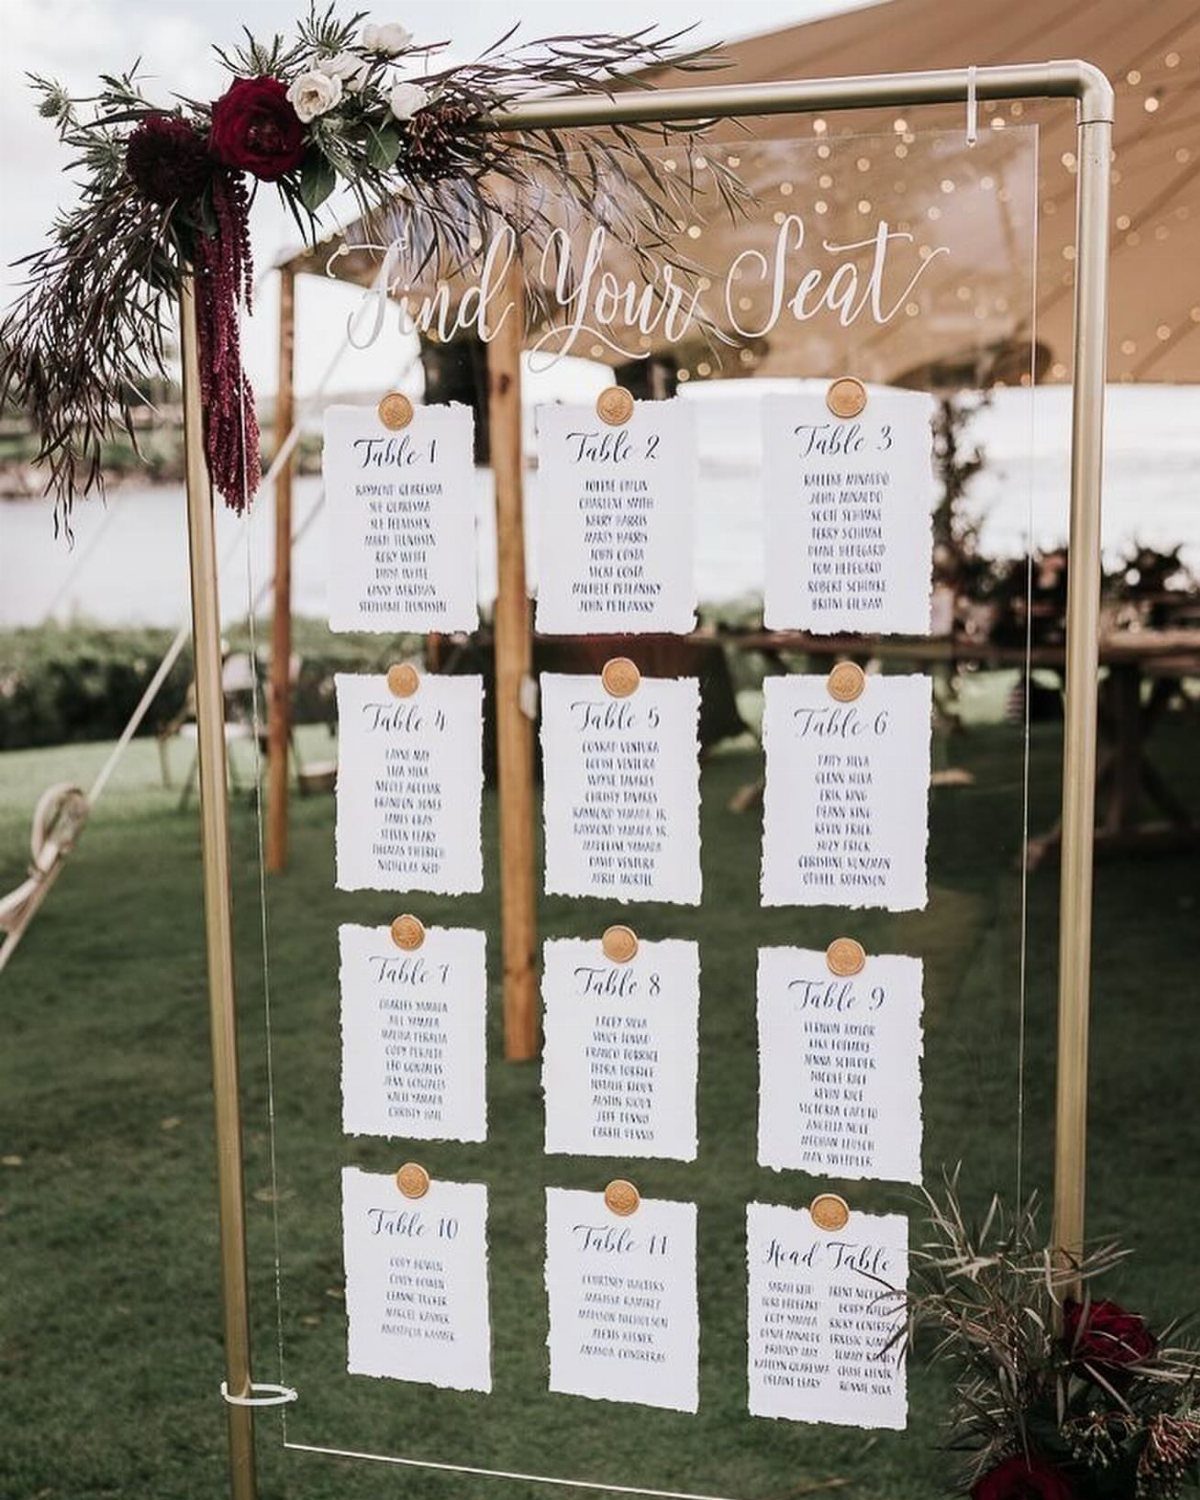
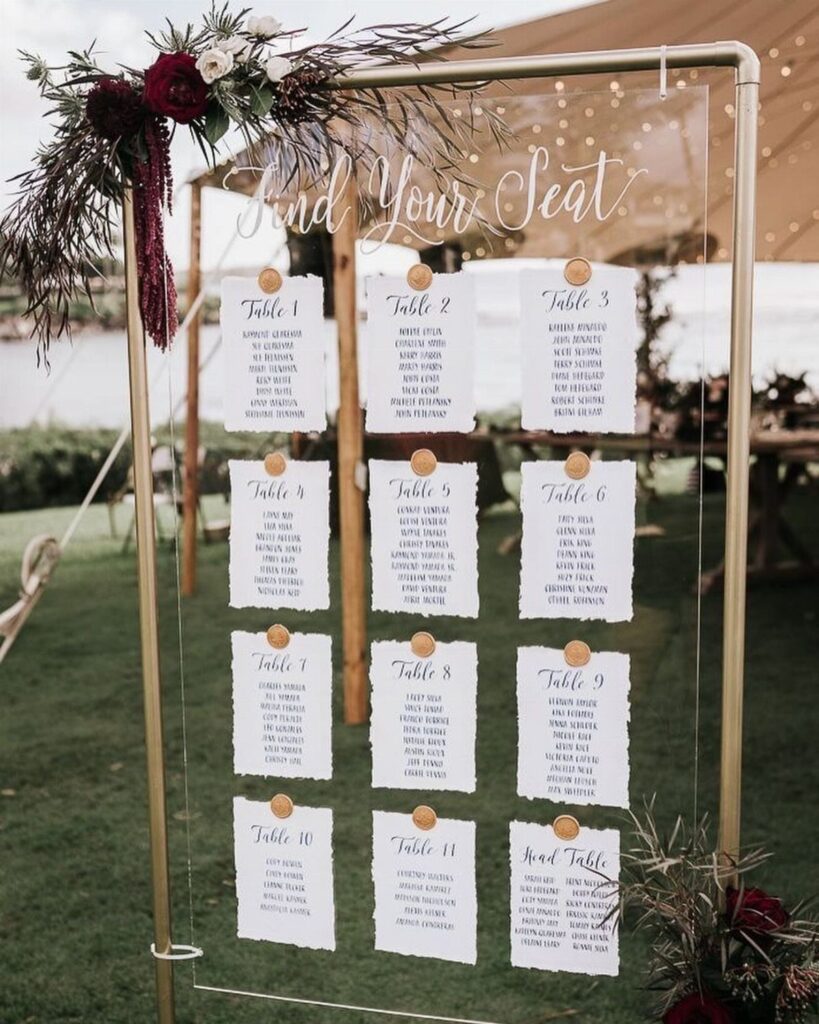
A clear acrylic chart with white lettering reads well against flowers and greenery, and it lets one sheet hold every table plus the head table.
I like that it stays legible from a few steps back, which keeps the line at the entrance moving.
Finalize the list only after RSVPs close, then proofread every name aloud before you send it to print. Acrylic can’t be patched, so a misspelling means reprinting the whole panel.
Alphabetical order by guest name helps people find themselves fast.
2. Family and Couple Portraits
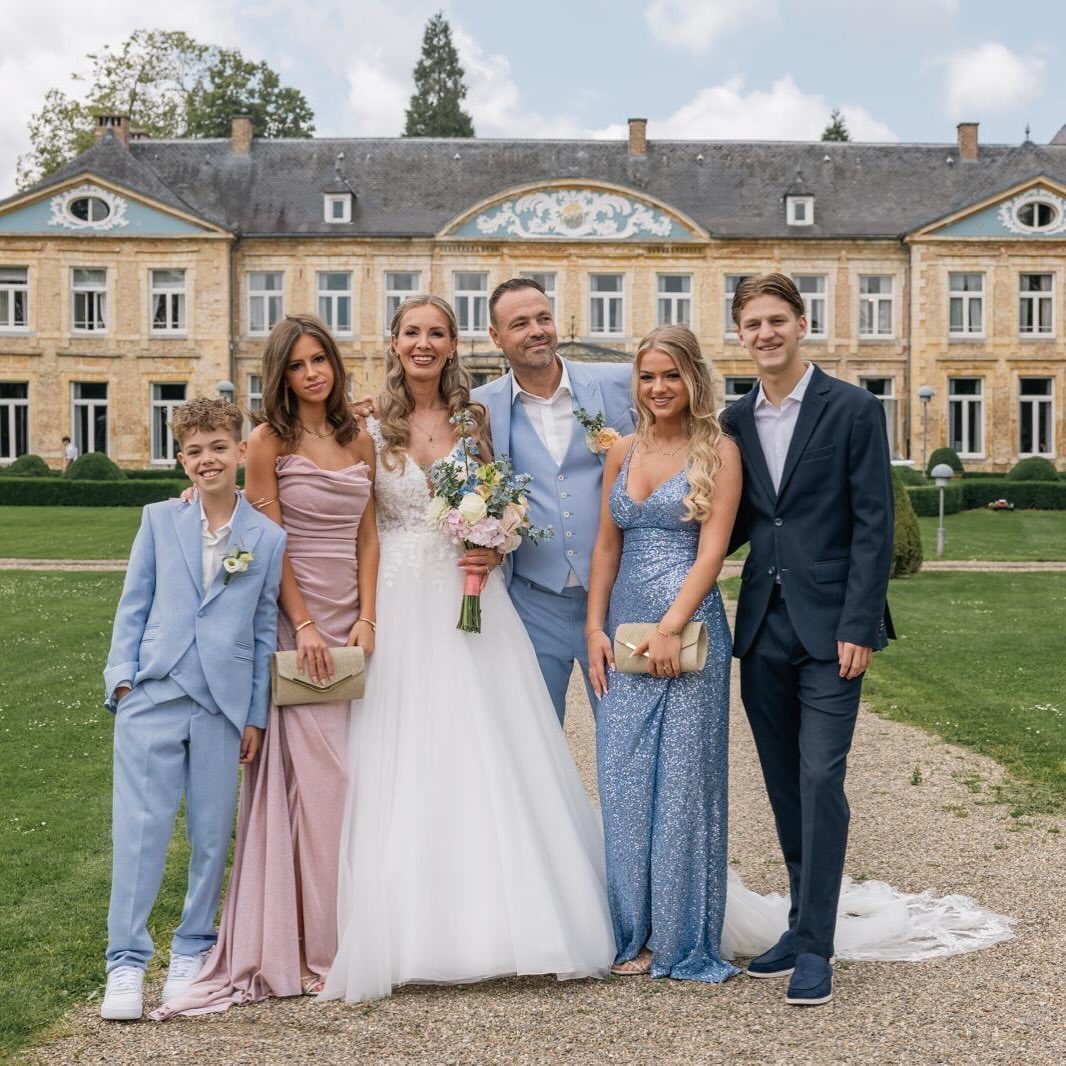
Family portraits go fastest when you write the shot list before the day and hand it to one relative who knows everyone by name. Group the combinations by side of the family, then add the couple’s shots last.
A grand backdrop like a stone manor makes a good frame, but a tight list matters more than the building. Start with the largest group and shrink it, so older relatives sit down early and stay comfortable.
3. Wedding Cake
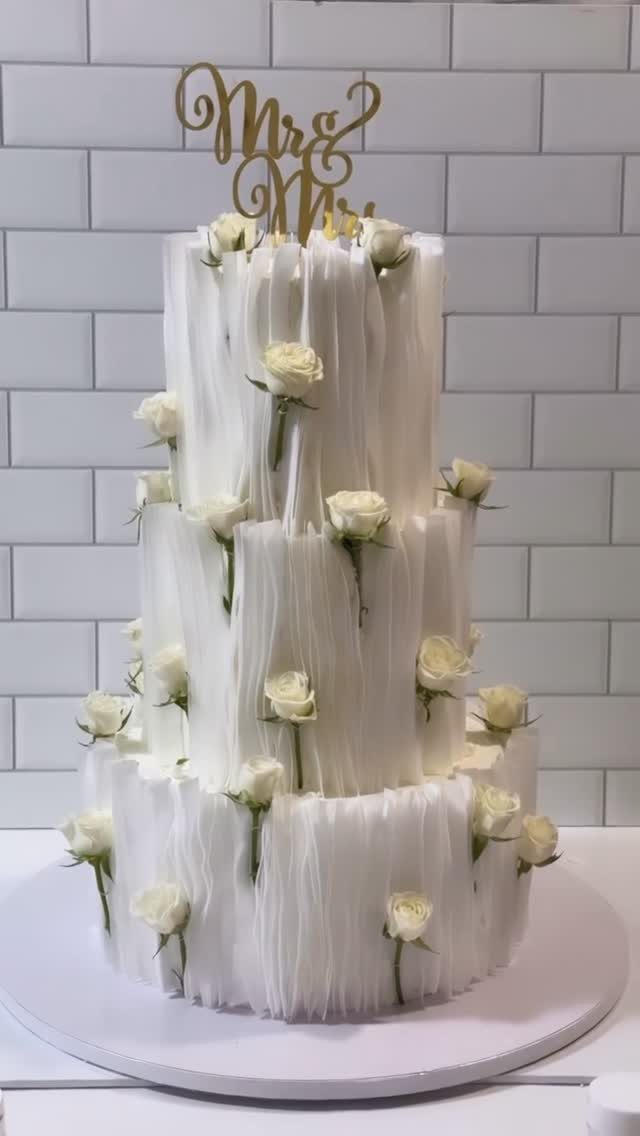
Order the cake early, because bakers book up and a tiered design with fresh roses and a topper needs lead time. Ask about delivery, setup and any fees before you sign.
A three-tier cake feeds a crowd, but it is also the costliest way to do it.
If money is limited, I would buy a small display cake for cutting and serve sheet cake from the kitchen. Guests rarely notice, and the savings are real.
Decide on flavors with a tasting, and settle the topper yourself so it matches your other gold details.
Importance of a Timeline
A wedding day timeline works as a one-page plan that tells every person where to be and when.
Without one, the usual casualties are family photos that never happen, guests you never get to greet, and a dance floor you only reach as the night winds down.
Build it backward from the ceremony start time. Fix that first, then work out how long hair, makeup, portraits and travel need to fit ahead of it.
Hand a copy of the schedule to everyone in the wedding party, parents included, with each person’s own arrival time marked so nobody has to guess.
Send it to your photographer as well; a portrait list that fits the schedule keeps pictures from cutting into the reception.
A good schedule also protects you. When people know the plan, you can stop managing the day and actually enjoy it.
Communication with Vendors
Send the timeline to every vendor, and send the same version to all of them. When vendors are working from different drafts, someone will arrive at the wrong time, so send every update to everyone at once.
Put contact information on it: phone numbers for the planner, the venue contact, the photographer and your wedding party leads. Add the wedding date and the venue address at the top, so the page works alone.
I like a shared Google Sheet, because a change to the schedule shows up for everyone at once. Also keep a printed copy, since phones die and signal at venues can be spotty.
Check the timeline against your budget before you send it. Extended photography or late-night snacks cost extra, so they belong on the schedule only if they are in your numbers.
The night before, at the rehearsal dinner, is a good time to go over the final version with your wedding party.
Buffer Time
Pad the schedule between every major event. A late hair appointment or a slow shuttle will happen, and buffer keeps one delay from pushing back the rest of the day.
Place the padding where things tend to slip: before portraits, between ceremony and reception, and before the first dance. Pad the gap between events, and give yourself even more room when guests have to travel from one location to another.
If the day runs on time, you get a relaxed breather with your partner, which is a better outcome than a rushed one. If it doesn’t, the buffer absorbs the problem quietly and no one else notices.
Having the ceremony and reception at one venue shortens travel and leaves more room for photos and mingling.
Frequently Asked Questions
When should I finalize my wedding timeline?
Lock it in about a month before the wedding, then send it to vendors and key people a week out.
That gives anyone with setup or takedown duties time to plan. Send every later change to everyone at once so no one works from an old draft.
How much buffer time should I build into a wedding timeline?
Leave slack after every big event, and give extra room anywhere guests have to drive or walk to a new location.
On a day that runs smoothly, that slack turns into a quiet 15 minutes alone with your partner; on a day that doesn’t, it soaks up the delay before anyone notices.
Who should get a copy of the wedding day timeline?
Send it to the wedding party and both sets of parents, and to every vendor, the photographer included. Print each person’s own arrival time next to their name, so no one has to work it out.
Give all of them the same version, with phone numbers for the planner, venue contact, photographer and party leads, plus the date and venue address at the top.