Die cut invitations run from a single scalloped edge or arched top on pale paper to lace borders, foil pressing and full matching suites, and those extras are where the cost and assembly time pile up.
1. Custom Die Cut Wedding Invitations
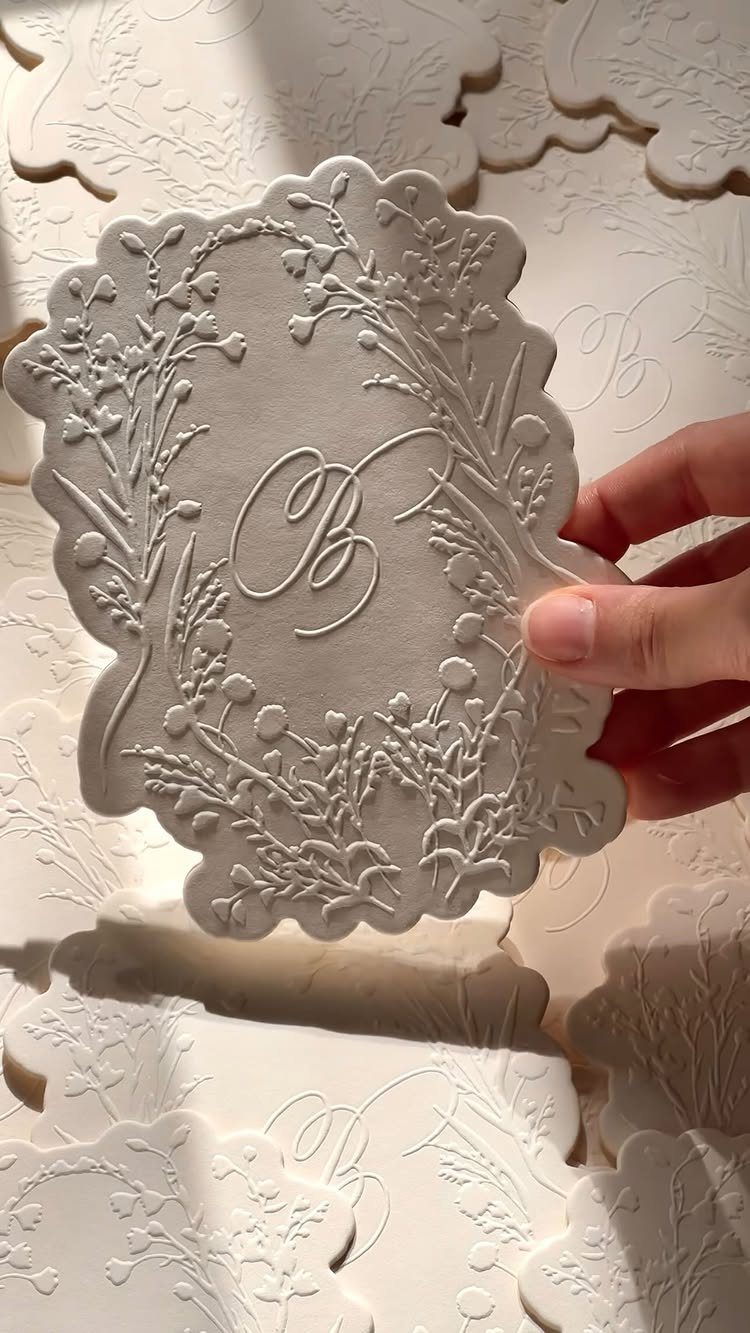
A die cut starts with a steel blade pressed through the card to make an edge that a plain rectangle can’t. Here the cut follows the floral border, and the cursive "B" gives the card a clear focal point.
I like a single monogram when the cutout is already busy. One letter and one border let the shape do the talking, and guests can still read the card at a glance.
Ask any printer for a sample before you commit. A custom blade usually means a longer lead time, so order the invitations well before your mailing date.
2. Matching Stationery Suite
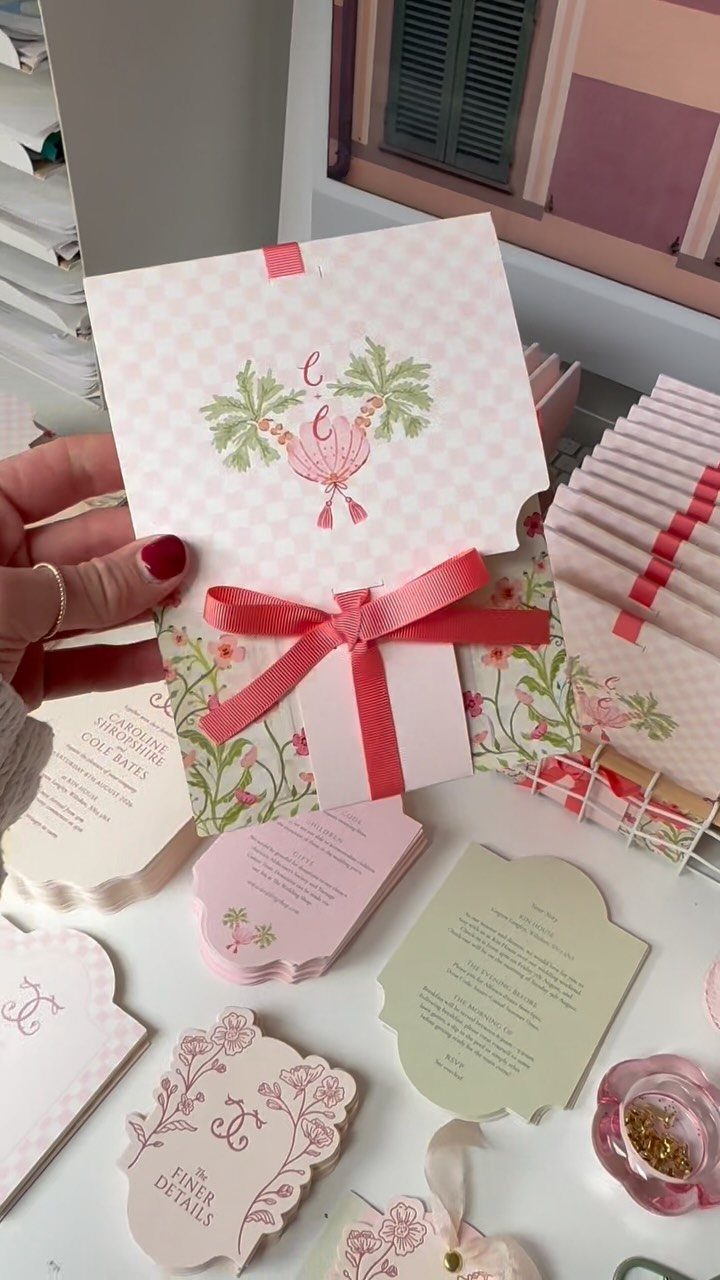
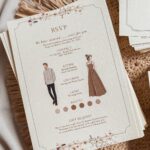
Consistency is what turns a pile of cards into a suite. The invitation, RSVP and details card share one floral motif and one color, so each piece looks like it belongs with the others.
Pick the die cut and the palette first, then ask the printer to apply them to every piece. I would repeat the cut on at least the RSVP card, since that is the piece guests handle most.
Ribbon is a cheap way to bind the set. It also keeps the cards together in the envelope.
3. Unique Die Cut Shapes
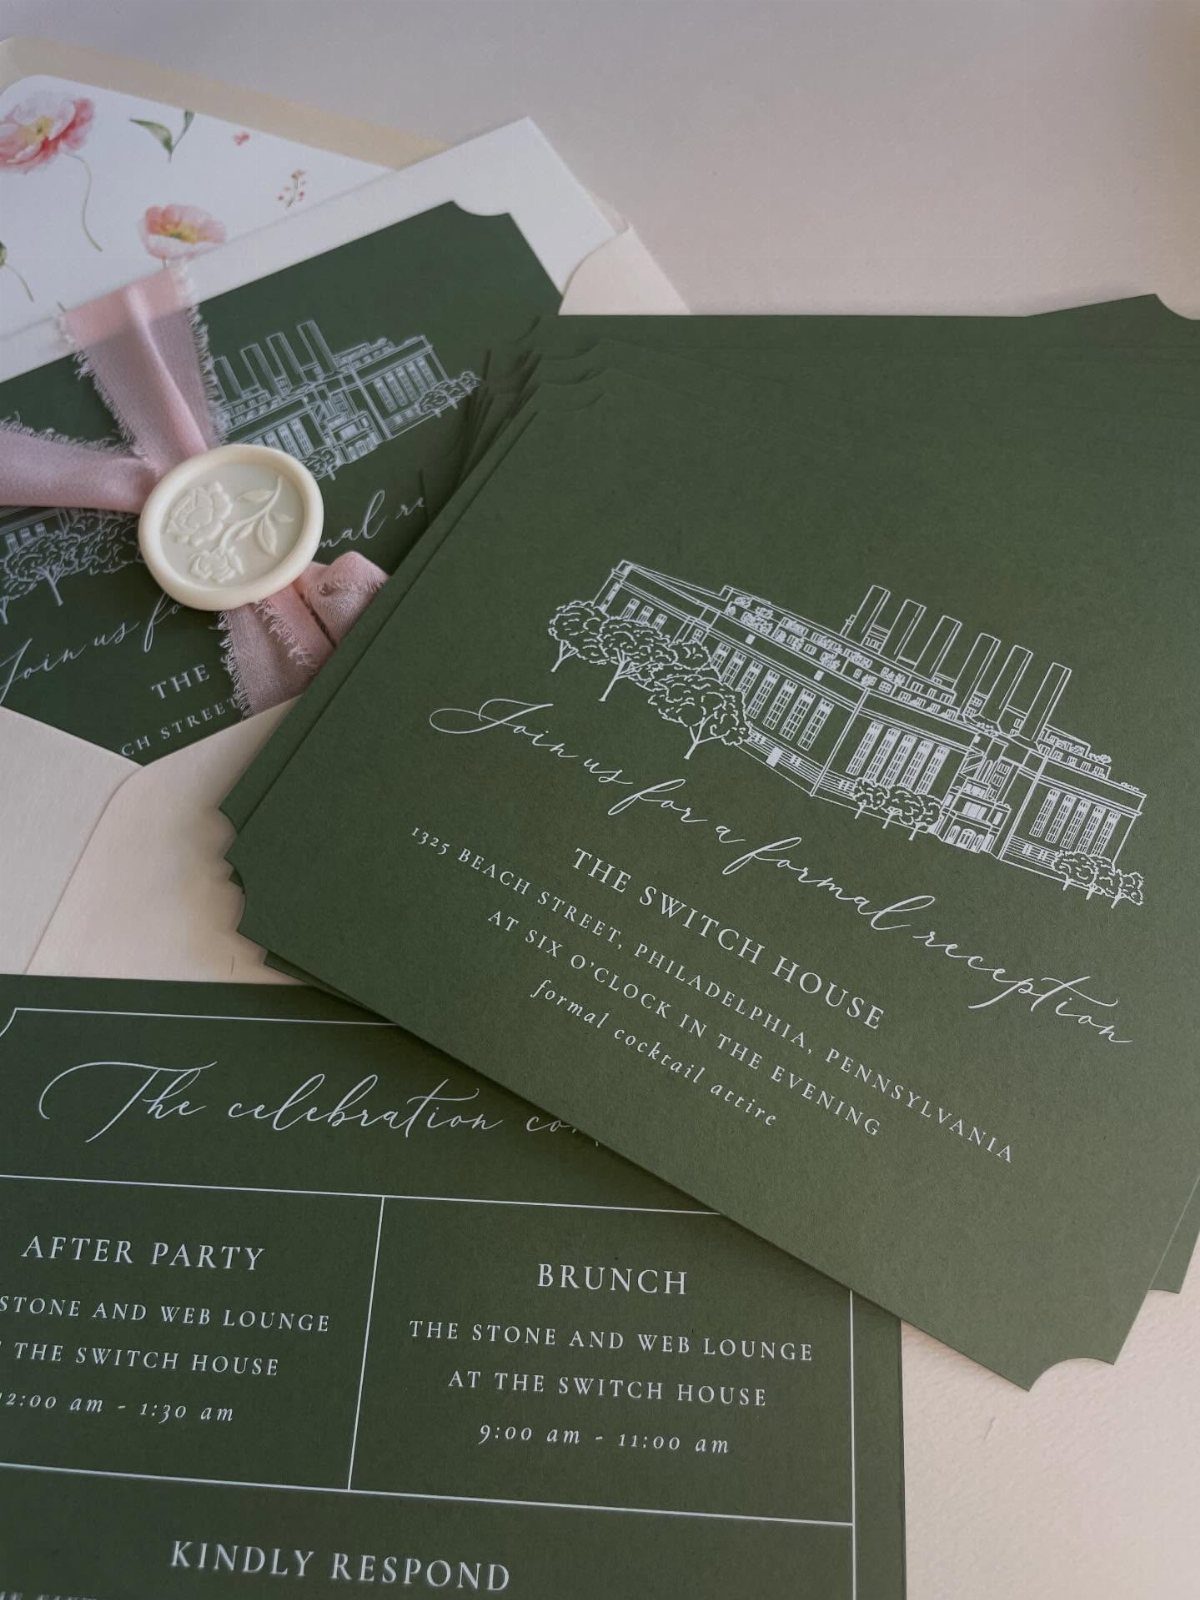
A scalloped edge can carry a design on its own, so keep the rest simple: one paper color, one ink, and let the cut do the decorating. Nothing else on the card has to be loud.
If you want a custom shape, keep the cut simple enough to survive the mail.
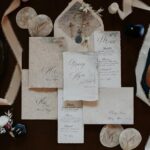
Thin points tear, and deep curves catch in sorting machines. A wax seal, as here, adds weight at the closure.
Ask the post office to weigh and measure a finished sample before you buy stamps, because odd shapes and heavy extras can raise postage.
4. Foil-pressed Invitations
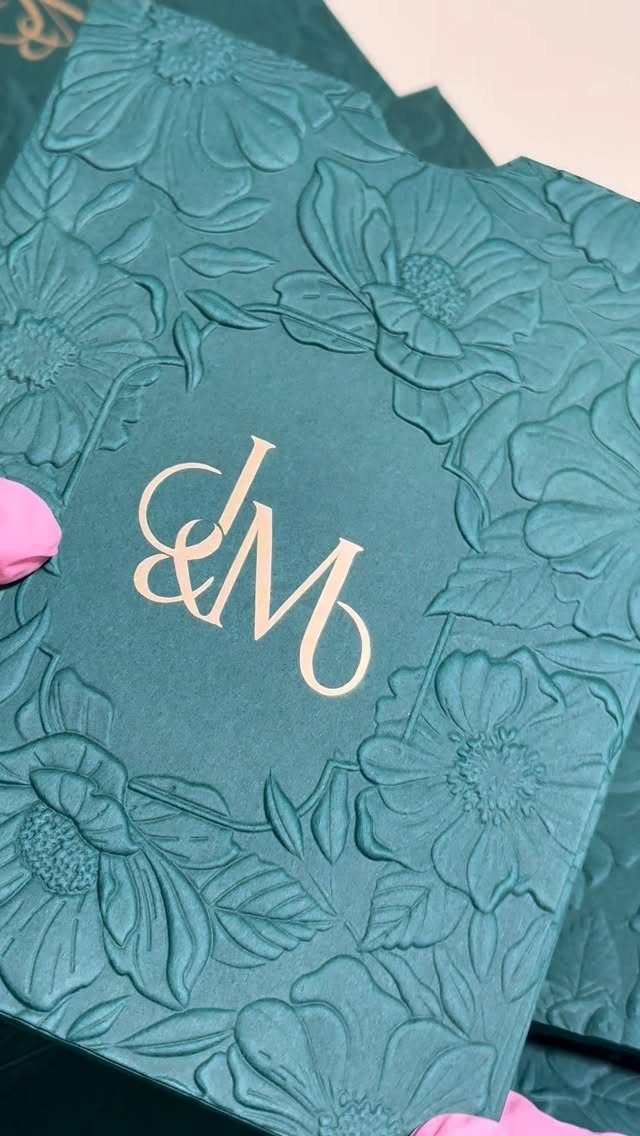
Gold foil on teal is the pairing I would pick for initials like "J & M". The metallic catches light against the deep color, and the embossed flowers add texture you can feel.
Use foil sparingly. Initials, a monogram or a single line of names is enough; foiling every line of text costs more and tires the eye.
Foil is pressed into the paper, so it pairs best with a thick stock. Request a printed proof, since the foil’s shine is hard to judge from a screen.
5. Quality Paper Die Cut Wedding Invitations
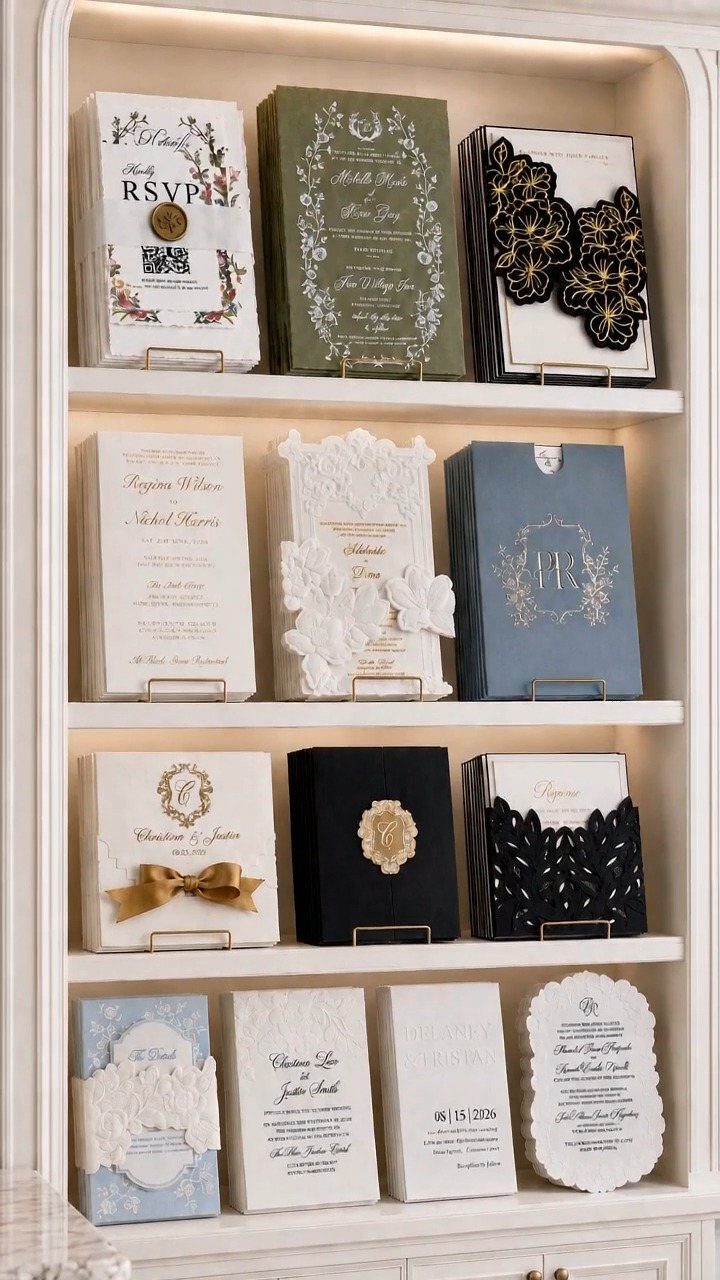
Paper decides whether a die cut looks expensive or flimsy. Thick stock holds sharp edges and fine laser-cut patterns, while thin sheets can curl or tear along delicate cuts.
When you compare suites, handle the actual paper. Ask a printer for a sample pack, then check how the cut edges feel and whether the color runs through the sheet.
Spend more on the invitation itself and save on the pieces that get tossed, like a simple details card. If your budget is tight, a heavy stock with a modest cut beats a fancy cut on thin paper.
The minimum quantity of invitations you can order is 10, which is perfect for that elegant micro wedding or elopement. The cost per card will decrease when you order a higher quantity.
— Minted
6. Lace Die Cut Invitations
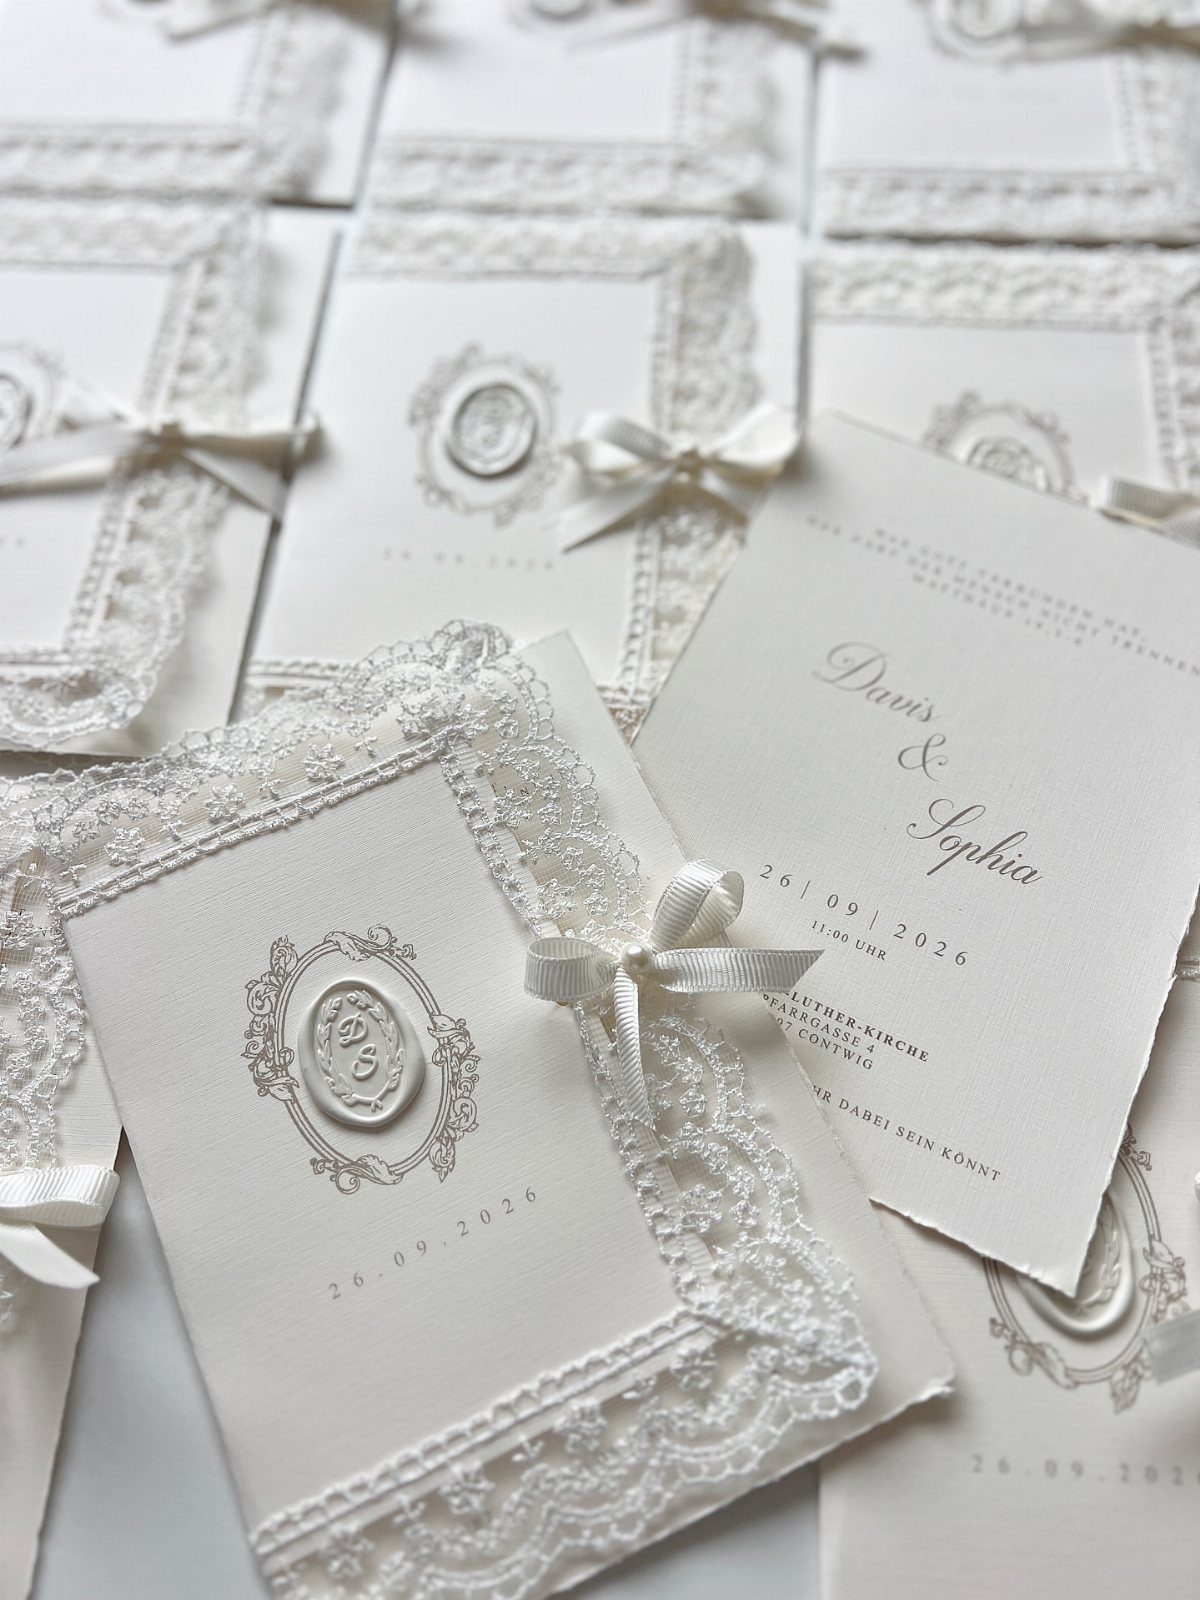
Lace borders, satin bows and wax seals stack 3 textures onto a white card, and that is the whole appeal. Everything stays in one color, so the detail comes from cut and finish rather than from ink.
Each add-on costs money and assembly time. If funds are limited, I would keep the lace cut and drop the ribbon, since the border already carries the romance.
White cards show smudges easily, so ask for them packed flat and handle them by the edges while you assemble.
7. Scalloped Edge Wedding Invitations
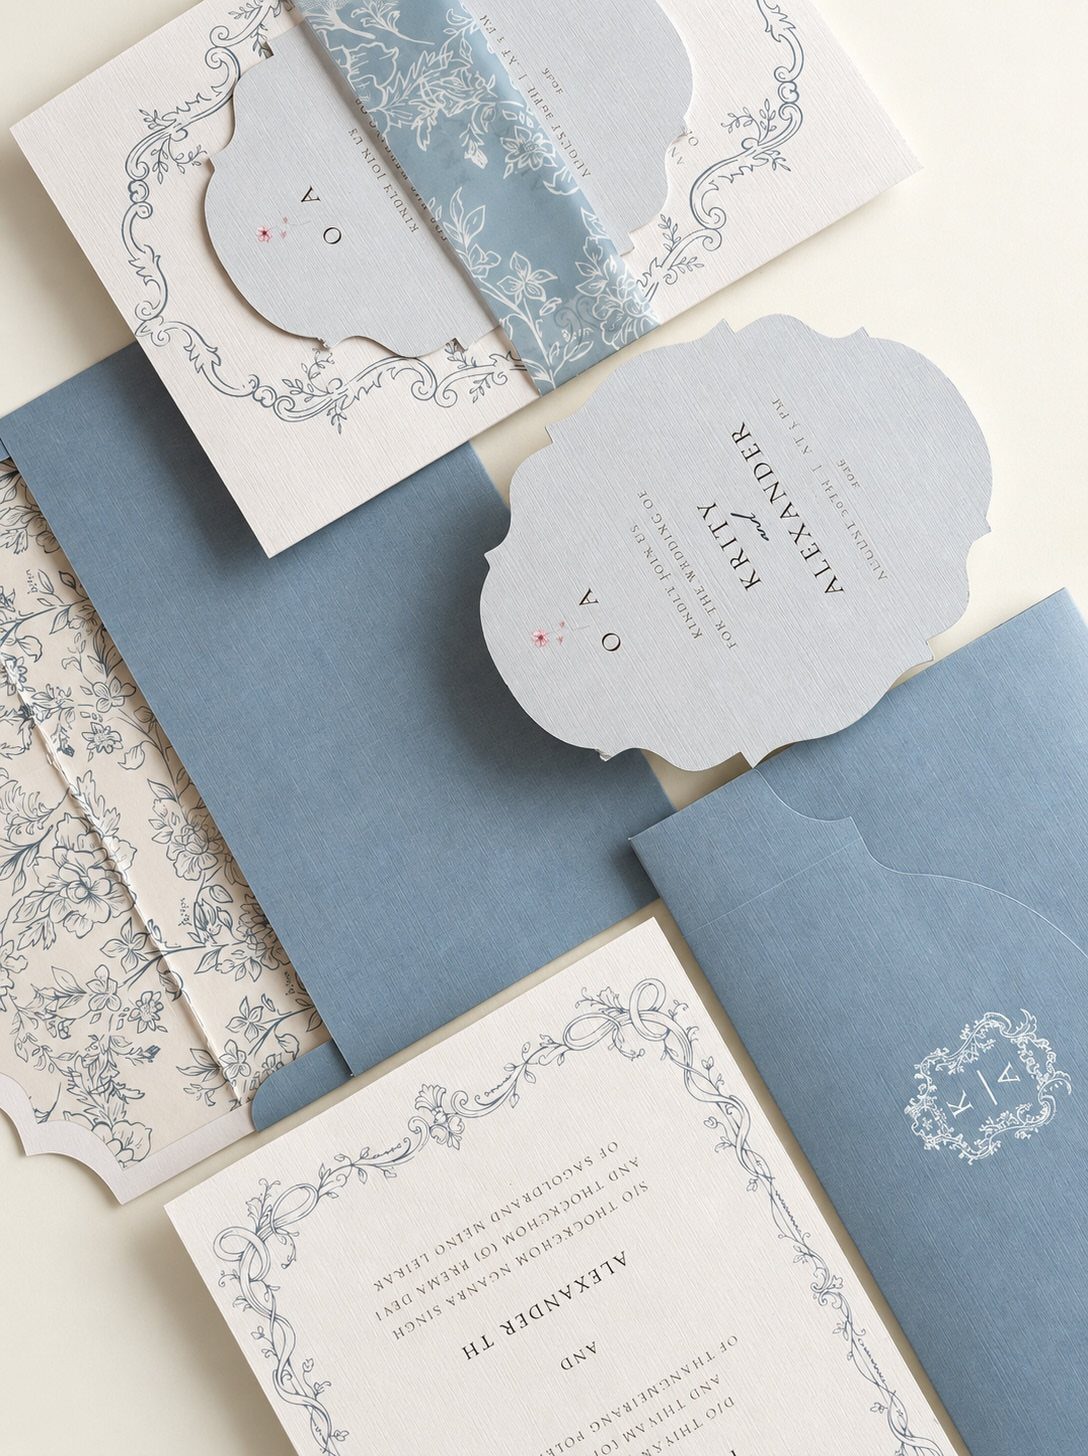
Scalloped edges in pale blue and white feel soft and a little old-fashioned, and the cut does all the decorating. Names set in a single ink are enough here.
I would keep every piece in the same two tones, so the edge stays the one feature guests notice.
Rounded scallops also look cleaner than tight ones, so ask your printer to show you the scallop size on a sample before you approve the blade.
Light colors show scuffs, so ask for the cards packed flat.
8. Arched Wedding Invitations
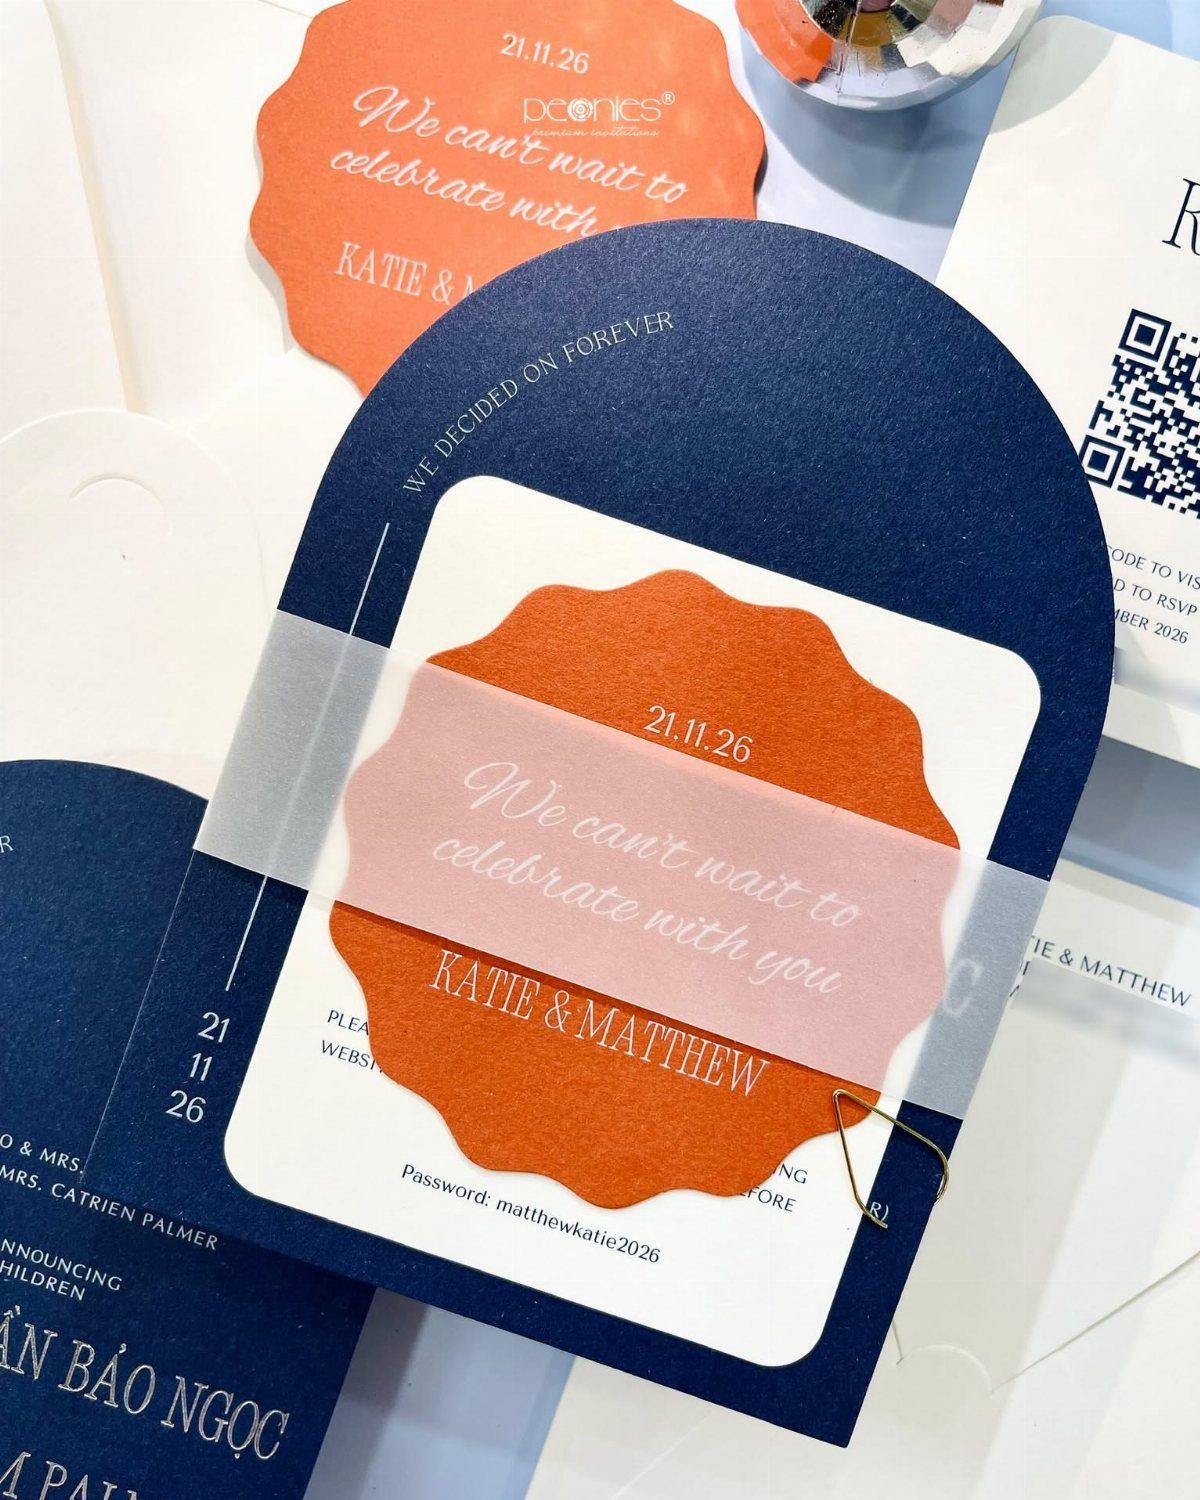
An arch changes the silhouette of the whole card, and navy gives it weight. Orange is a bold partner, and a scalloped insert tucked behind the arch adds a second edge without crowding the front.
I would choose this for a modern wedding where the invitation should look designed but not fussy.
A QR code on the card can send guests to the RSVP page, which means you can skip a separate response card. Test it with two or three phones before you print, and keep it large enough to scan easily.
Layers add up in cost and assembly time, so decide early which ones to keep.
Frequently Asked Questions
What should wedding invitations say?
Put the date, time, location, both names and RSVP details on the card.
Guests need those 5 things to show up and answer, so anything beyond them is optional. If the cut or foil is busy, a short line of text keeps the card readable at a glance.
When should wedding invitations be mailed out?
Send them out 6–8 weeks ahead.
Custom die cutting takes longer, so start the order early enough to hit that window. Bring a finished sample to the post office and get it weighed before you print the whole batch.
Is it OK to send wedding invitations online?
Guests generally expect a paper invitation, and an online invite may not reach everyone. Print a card with a QR code that links to your RSVP site, and you can skip the response card insert.
Scan it on a few different phones before you print to make sure it works, and size it big enough that people don’t have to aim twice.