Inserts range from a single die-cut card on a burgundy suite to a 3-panel all-in-one mailer with a tear-off RSVP postcard and a prefixed stamp, so the spread runs from custom shaped edges to the cheapest finished suite I know.
What picks your option is how many guests need logistics: a destination weekend with lodging and a 3-day schedule earns separate cards for each, while a single-venue ceremony fits on one printed insert.
Splurge on one shaped piece and print the rest flat.
1. Wedding Invitation Extension Inserts
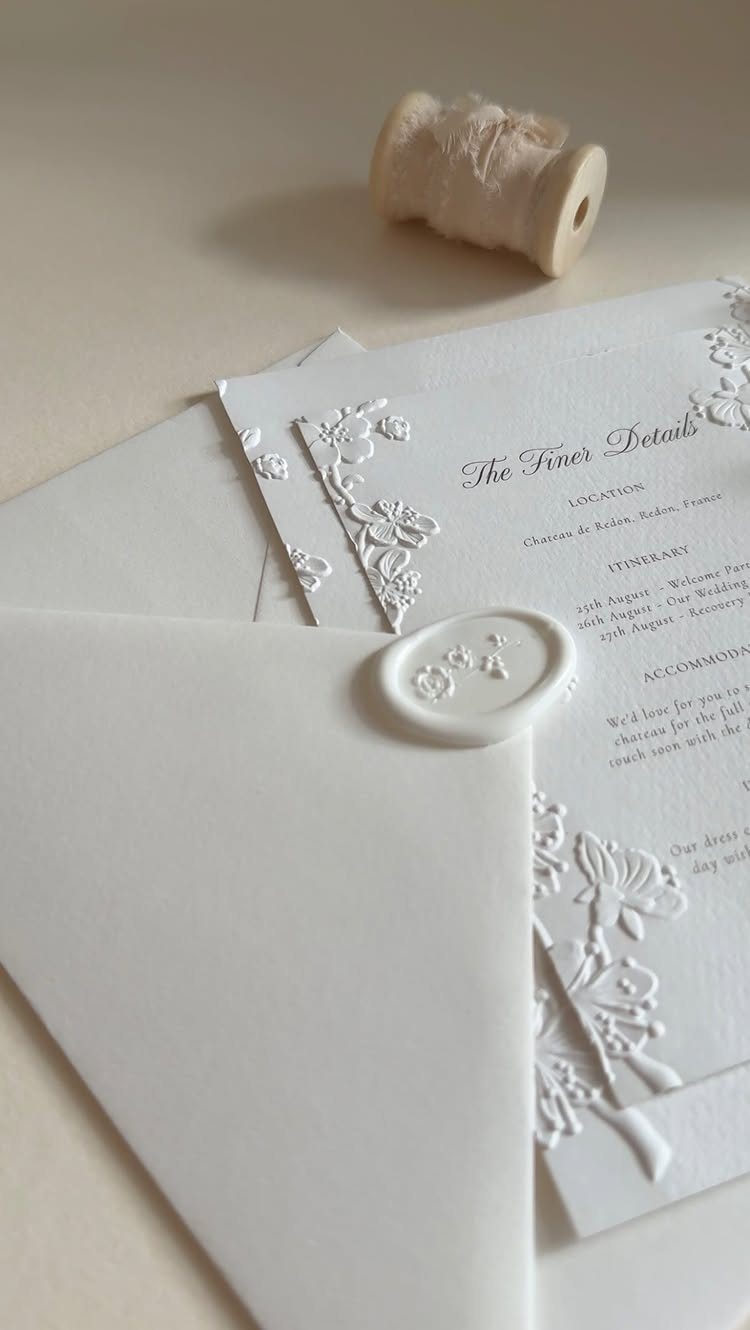
Extra cards let the invitation stay clean while the logistics live elsewhere. Location and itinerary each get their own card, so the main invitation carries only the names, date and tone.
I like this setup for budget planning: print only the inserts you need, and give out the itinerary card only to guests who are traveling or staying for events.
Put the address and schedule on separate cards. Guests tend to save those two the longest.
2. RSVP Instructions
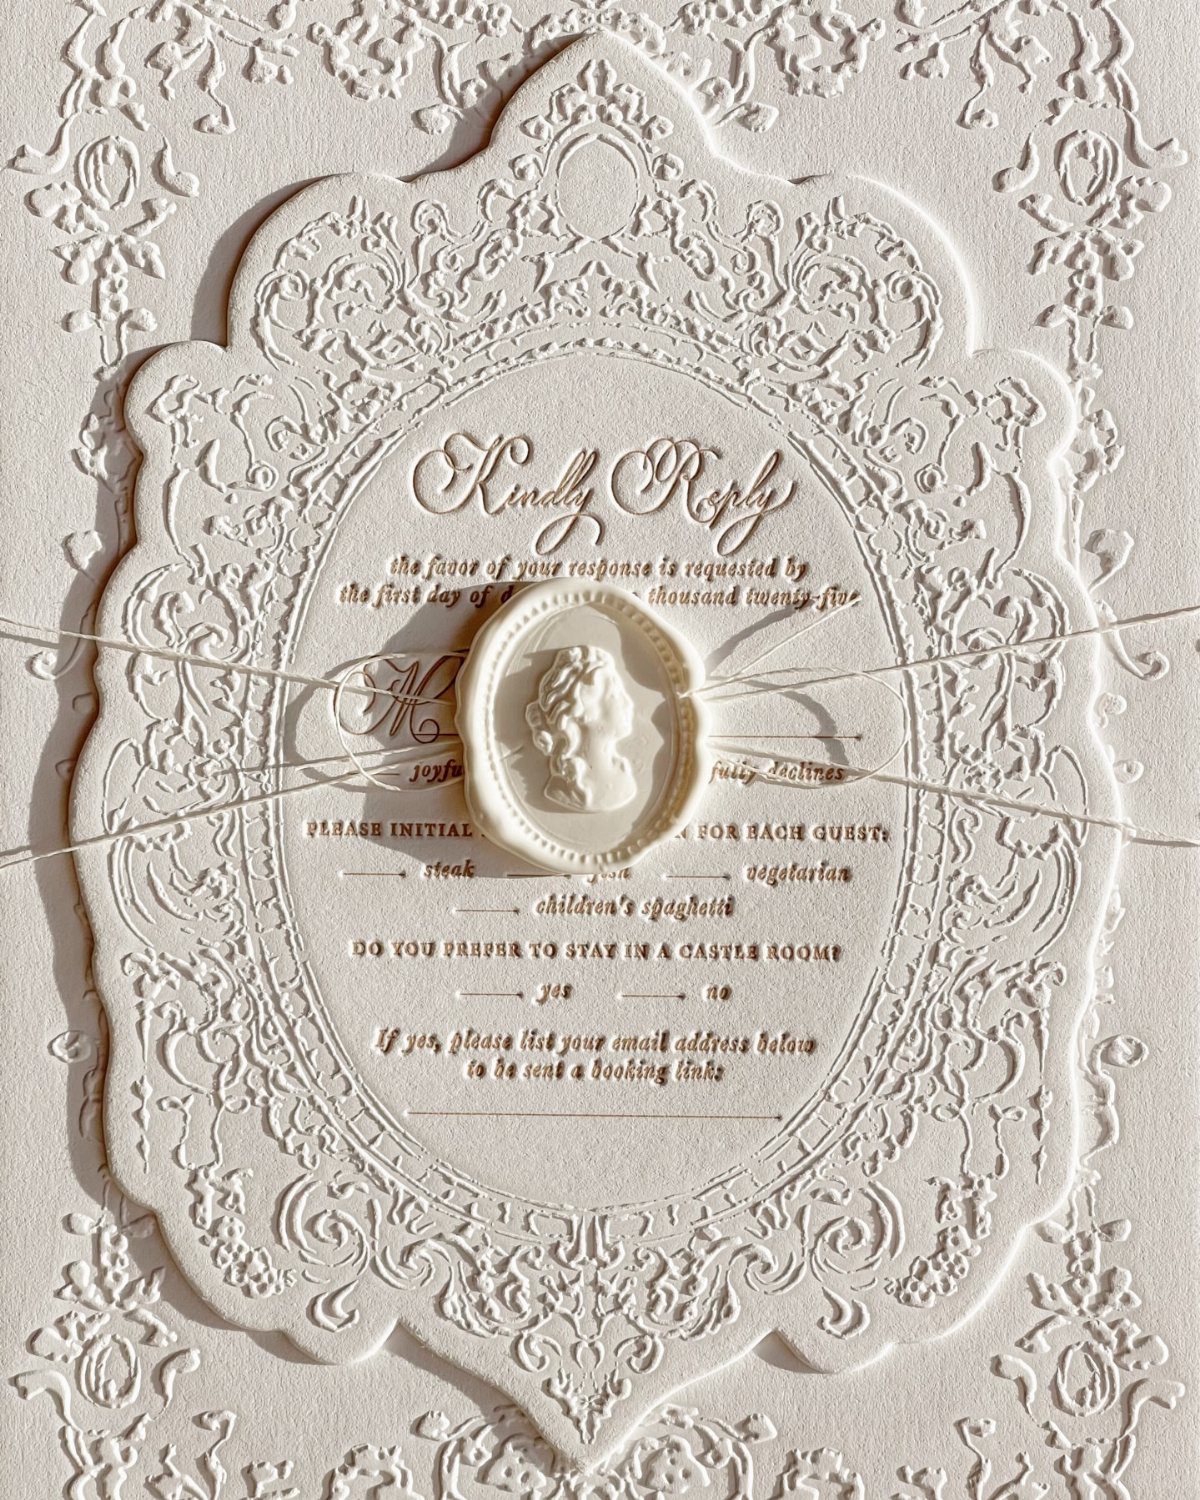
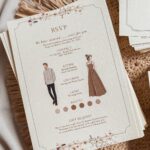
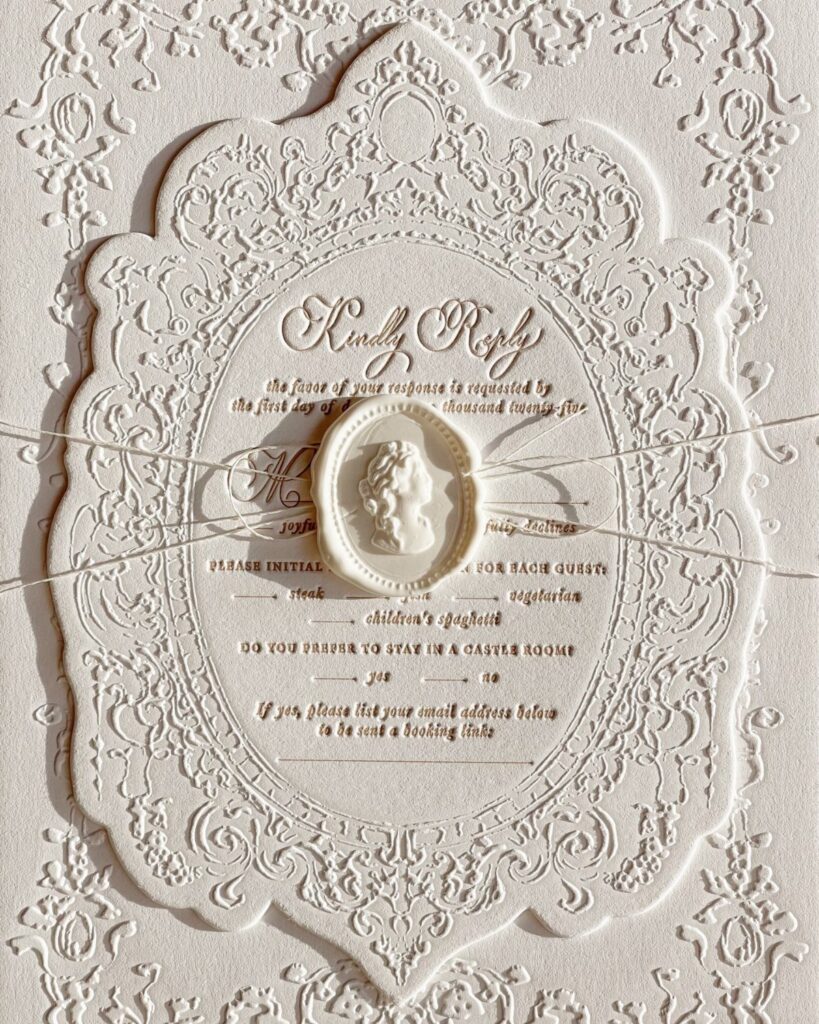
A good RSVP card asks only what you must know to place an order. Here that means a reply line, a meal choice between steak and vegetarian, and one lodging question about a castle room.
Every extra question costs you a follow-up text later, so keep each one answerable with a checkmark. I would put the meal options in plain words and leave a short name line for each guest.
Set the reply date well ahead of your caterer’s headcount deadline. Then you have time to chase the stragglers.
3. Die-cut Wavy Insert Card
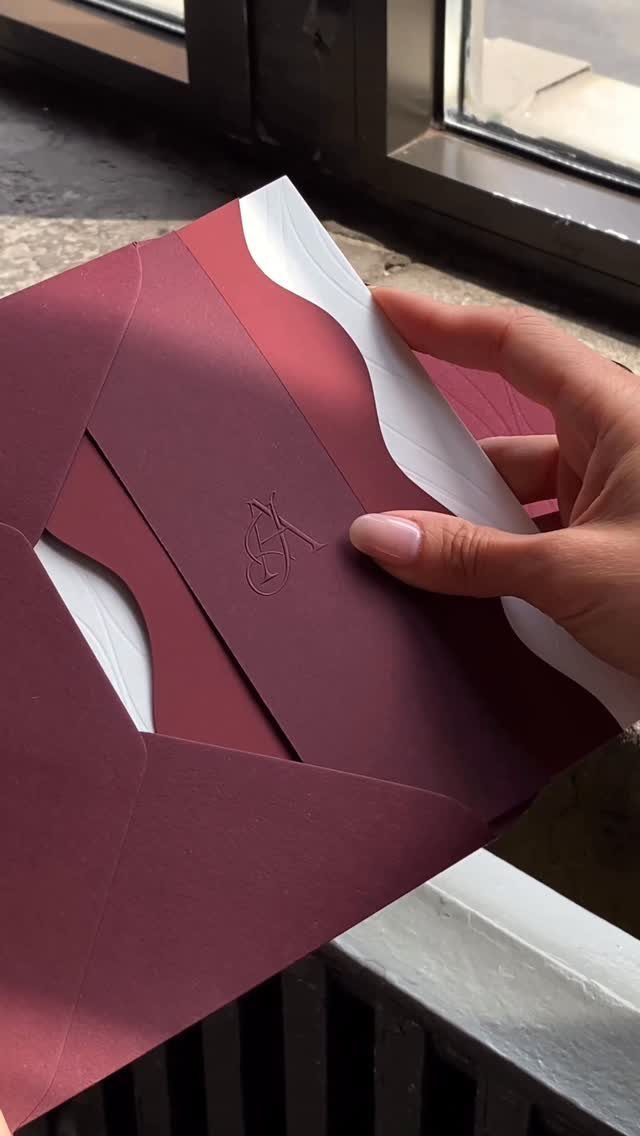
A wavy die-cut edge makes a plain white card look custom. Laid over a deep burgundy suite, the white insert stands out and reads as the details card before anyone reads a word.
Die-cutting usually costs more than a straight trim, so I would use it on one card only. Splurge on the wavy piece and let the other cards in the suite stay simple.
Ask your printer for a proof of the cut, and approve it ahead of the full run. Shaped edges can look different from the mockup.
4. Oval Weekend Details Insert
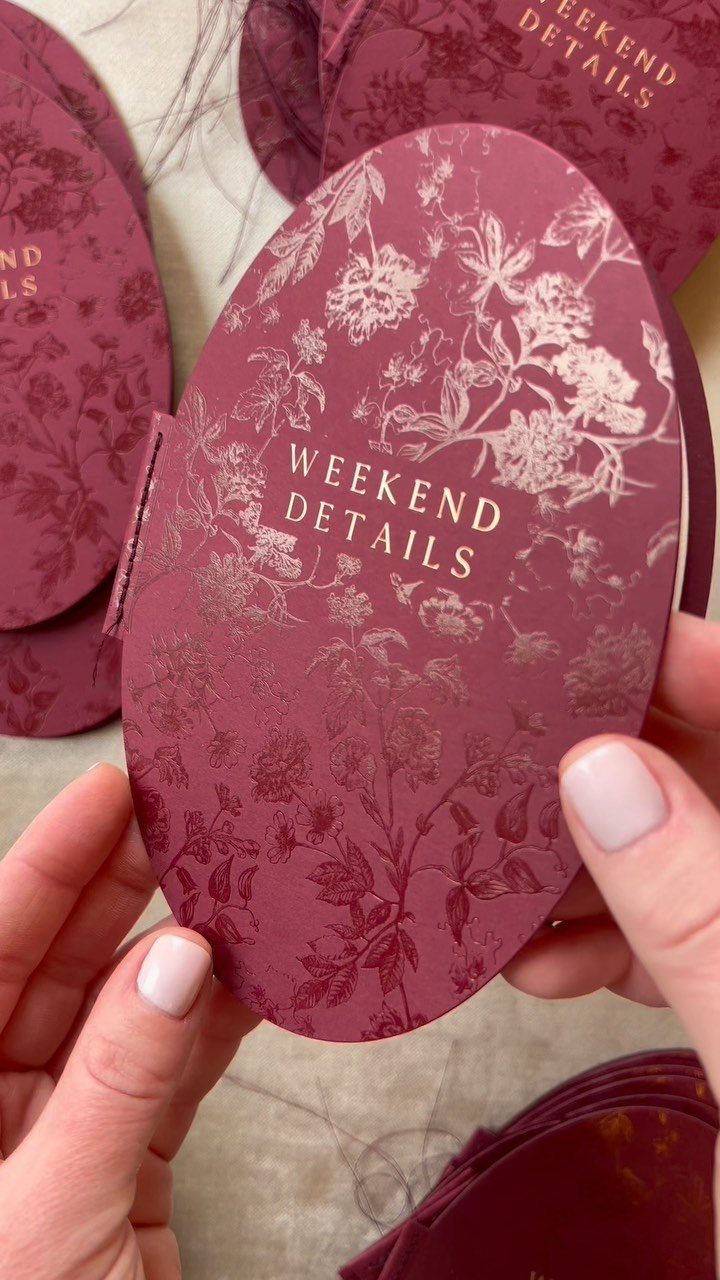
An oval card breaks up a stack of rectangles. Printed in burgundy with floral accents and a "Weekend Details" heading, it tells guests this one is about the schedule.
Use it when your wedding spans more than one day: Friday welcome, Saturday ceremony, Sunday brunch. List times and places in short lines, because an oval has less usable space at the corners than a rectangle does.
Keep the type large enough to read at a glance. If the schedule runs long, move it to a wedding website and print only the highlights.
5. Belly Band Bundled Inserts
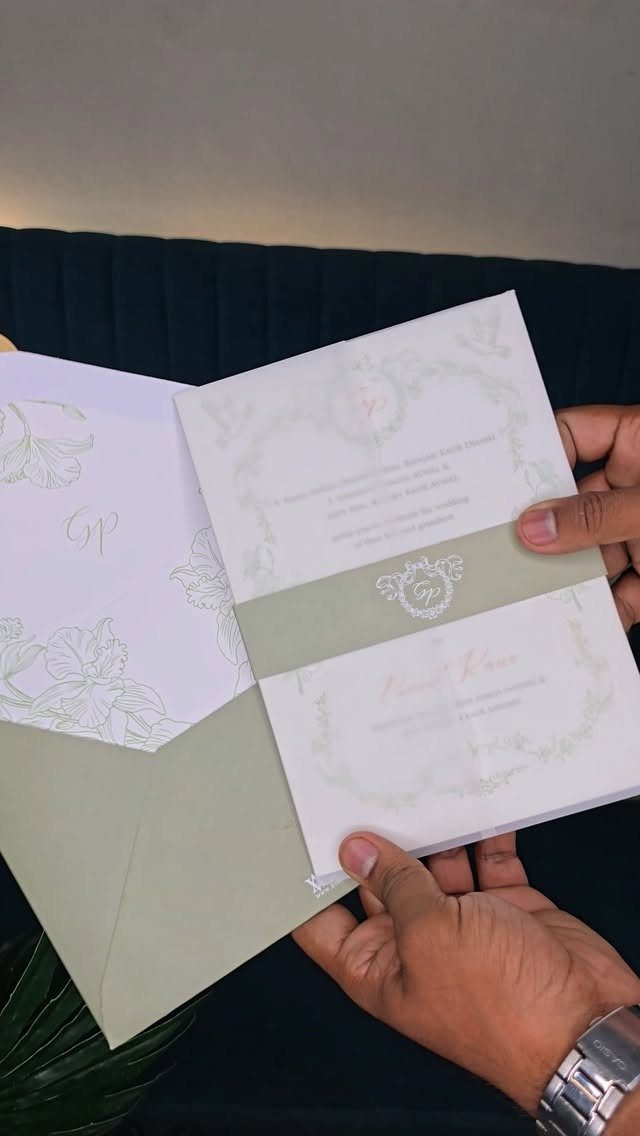
A belly band does the work of an envelope liner and a box in one step. A strip of sage green paper wraps the invitation and inserts into a single bundle, so nothing slides out when guests open the envelope.
According to its maker, one version uses a premium vellum cover with a branded strip. For a tighter budget, I would choose a plain paper band and skip the vellum.
Print the names or a monogram on the band for a finished look. Assemble the bundles yourself, in one sitting, with the order of the cards fixed before you start.
Customization Benefits
Personal touches are what make a suite feel like yours, and most online tools let you change more than the text.
You can swap images, rework color pairings, pick an address labeling style, choose the paper quality and select an envelope color.
Pay attention to small design choices. Cursive, bold and large fonts each read differently at a glance, and a square cut feels different from a patterned edge.
Save your progress if you run short on time. Most tools let you return and finish later.
Some designs come from independent artists, so browse by style first: modern, classic, formal, minimalist or botanical. Pick the one that matches your color theme before you start customizing.
Cost-effective Options
All-in-one invitations are the cheapest route I know to a finished suite. 3 panels fold into a single mailer with a tear-off RSVP postcard, so you skip the response card envelope and the outer and inner envelopes.
The RSVP comes with a prefixed stamp, which means you avoid buying multiple pieces of stationery and full-price stamps for each reply.
Folding the piece, closing it with the clear seals and dropping it in the mail is the whole assembly job.
Read the design’s listed contents first, so you know whether the RSVP card is part of the price and whether a return envelope comes with it at all, since an all-in-one mailer uses a tear-off postcard with no envelope.
Some versions let you edit the wording and color palette, which matters if you want the savings without a stock look.
RSVP postcard is featured on the bottom third of every design and is printed with your return address for free!
— Minted
Importance of Cohesive Design
Choose your palette and fonts once, then carry them through every piece. Programs, menus and thank-you cards all look better when they match the invitation.
Use the matching accessory options when you order. Pick foil-press invitations and the same foil treatment on matching thank-you cards is usually an option, so the set stays consistent.
A design associate can review your color pairings and send a final proof, and skipping that step only makes sense when the deadline is tight.
If one artist’s style appeals to you, look at their other work. It often pairs with what you’ve already chosen.
Frequently Asked Questions
What is a seal and send wedding invitation?
The invitation itself is a tri-fold card that closes with a sticker and goes straight into the mail, no envelope needed.
Guests tear off a pre-stamped reply postcard along the perforated edge, check a box, and send it back. You skip 3 envelopes and save on assembly, which drops the per-invite cost lower than any other format.
Are RSVP cards necessary with wedding invitations?
No, but I would include one. It makes replying easy for guests and gives you the headcount you need for seating and catering.
Ask only what you actually need to know, like headcount and entree preference, and set your deadline 2 weeks before the caterer needs final numbers so you have room to follow up.