Ribbon on an invitation ranges from a plain bow tied on one card to a full suite with a wax seal, a tassel and a lace band, and the list below covers all of it.
How many suites you have to assemble by hand should drive the pick, because every extra knot, wax seal or tassel gets repeated across the whole stack.
Copying a thin satin bow on a single card is quick, but layered pieces like pink wrap, monogram and gold wire bow call for one finished sample first, then an exact copy of it dozens of times.
1. Wax Seal and Ribbon
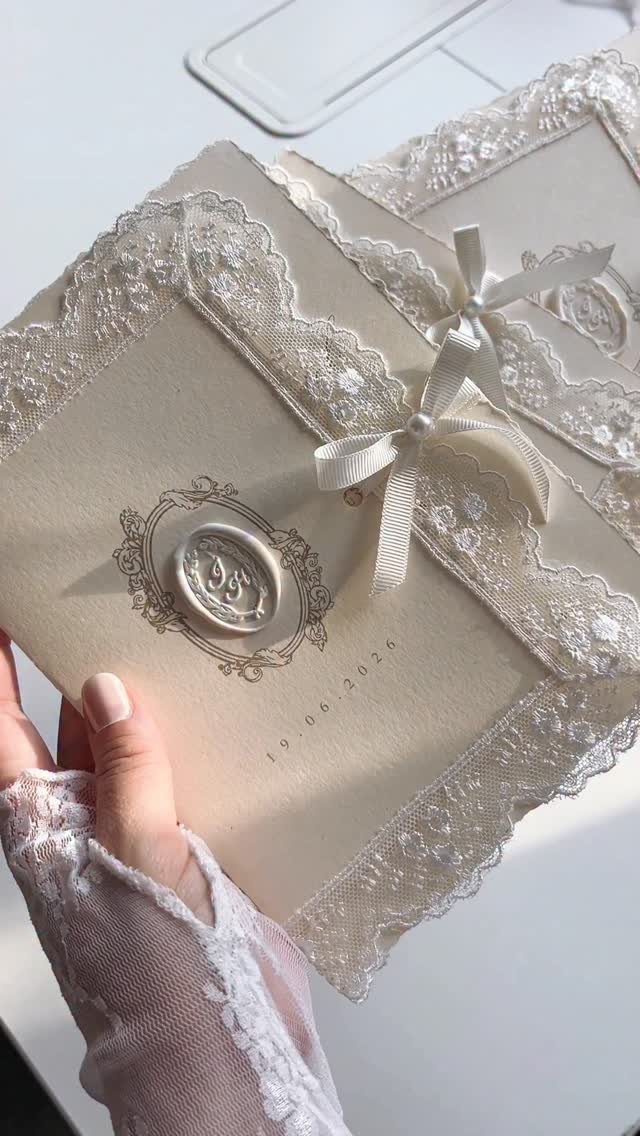
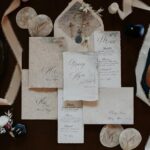
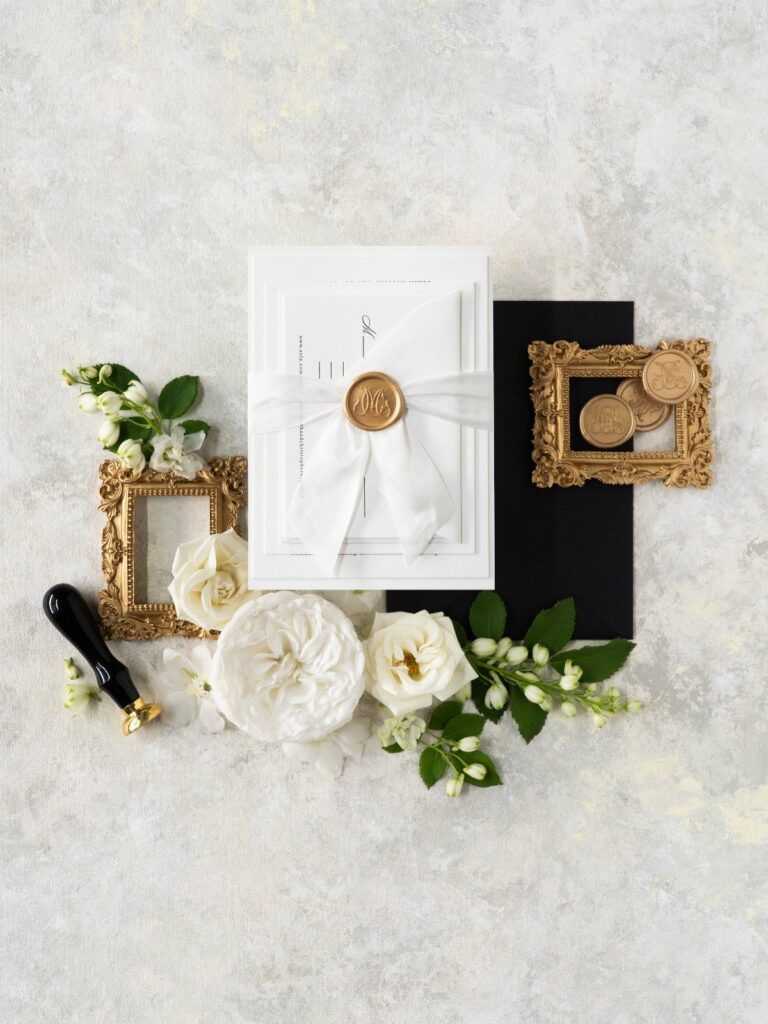
Wax and ribbon work as a pair because one is soft and the other is solid. A satin bow carries the sheen, and the seal sits beside it as a small, heavy accent.
Keep the seal to one spot on the invitation so it reads as a finishing touch.
On a cream suite with lace, I would pick a seal in a shade close to the paper, which keeps the look quiet and refined.
Try one test seal on scrap card before you start on the real stack.
2. Ribbon with Lace
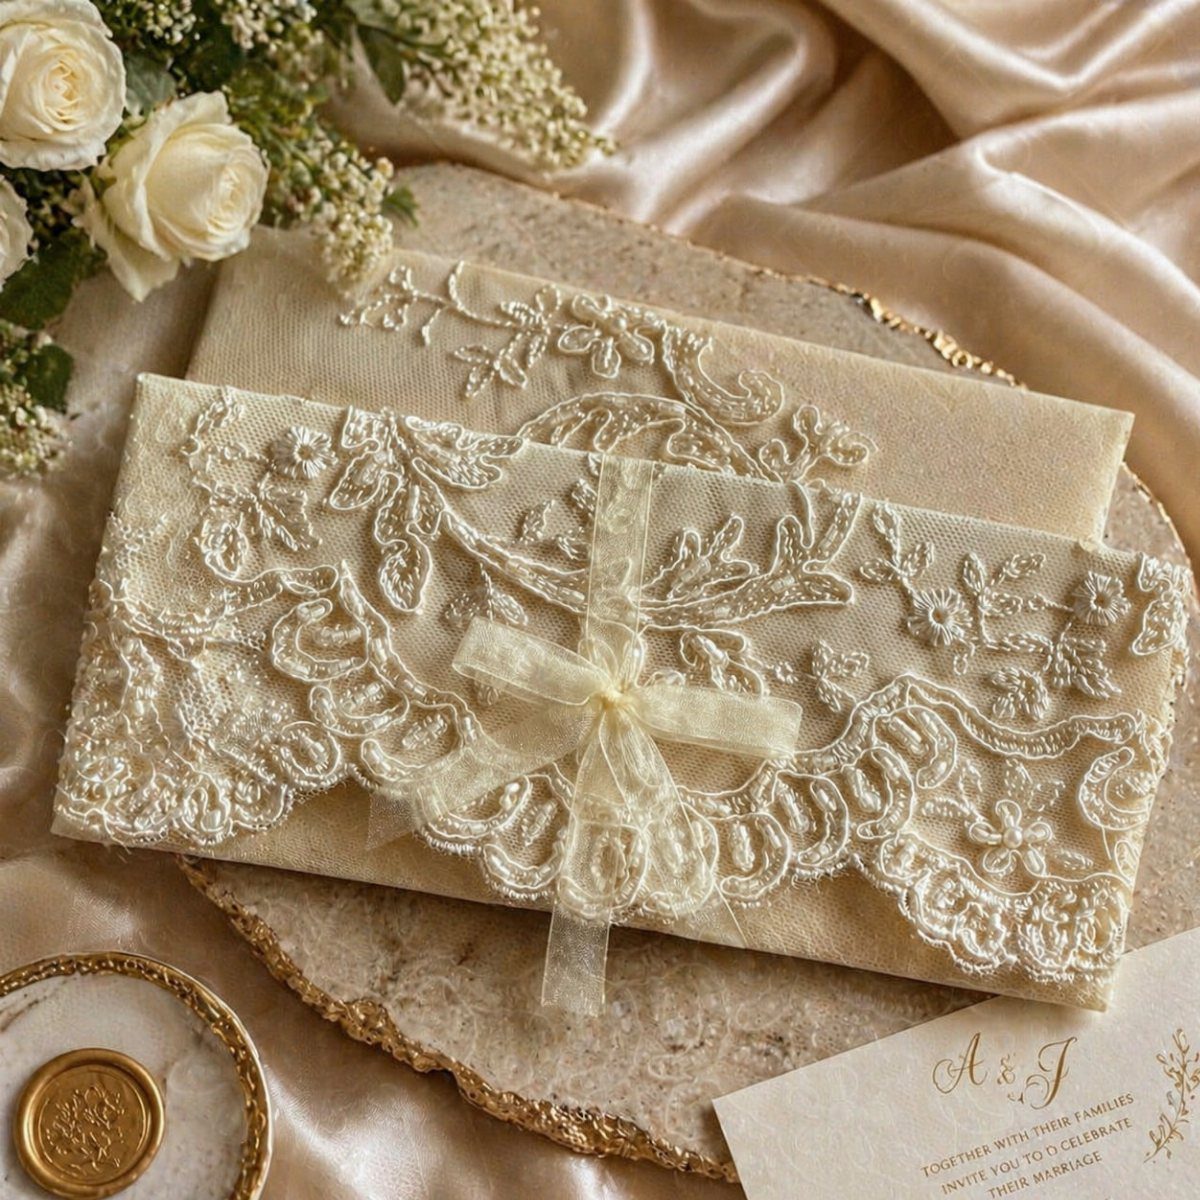
A band of lace wrapped around a cream invitation, topped with a sheer ribbon bow, gives the suite a traditional, vintage feel without adding a single extra printed piece.
For DIY work, I like a sheer ribbon over satin here, because it lets the lace pattern show through at the knot. Keep the lace and the ribbon in the same white or cream family so neither one competes.
Cut every band to the same length before you tie anything, so the bows match across the whole batch.
3. Bow on Your Ribbon Tie
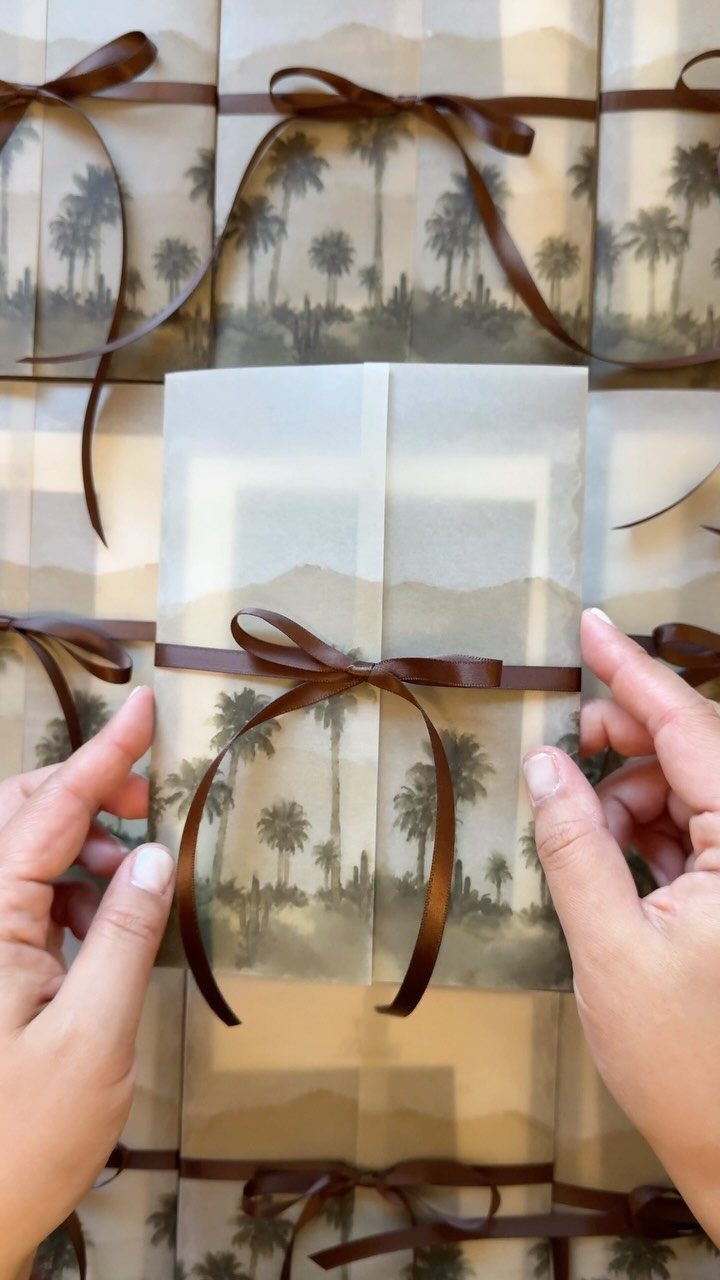
The bow does the work of tying the envelope to the theme, so the ribbon color should come from the artwork.
Pick a ribbon in one of the darker tones from the design, then tie one practice bow over the vellum before committing. Vellum slips, so a snug first knot under the bow helps it hold.
Save the loop-and-tail bow for the top, where it sits flat and photographs well.
4. Layered Invitations with Ribbon
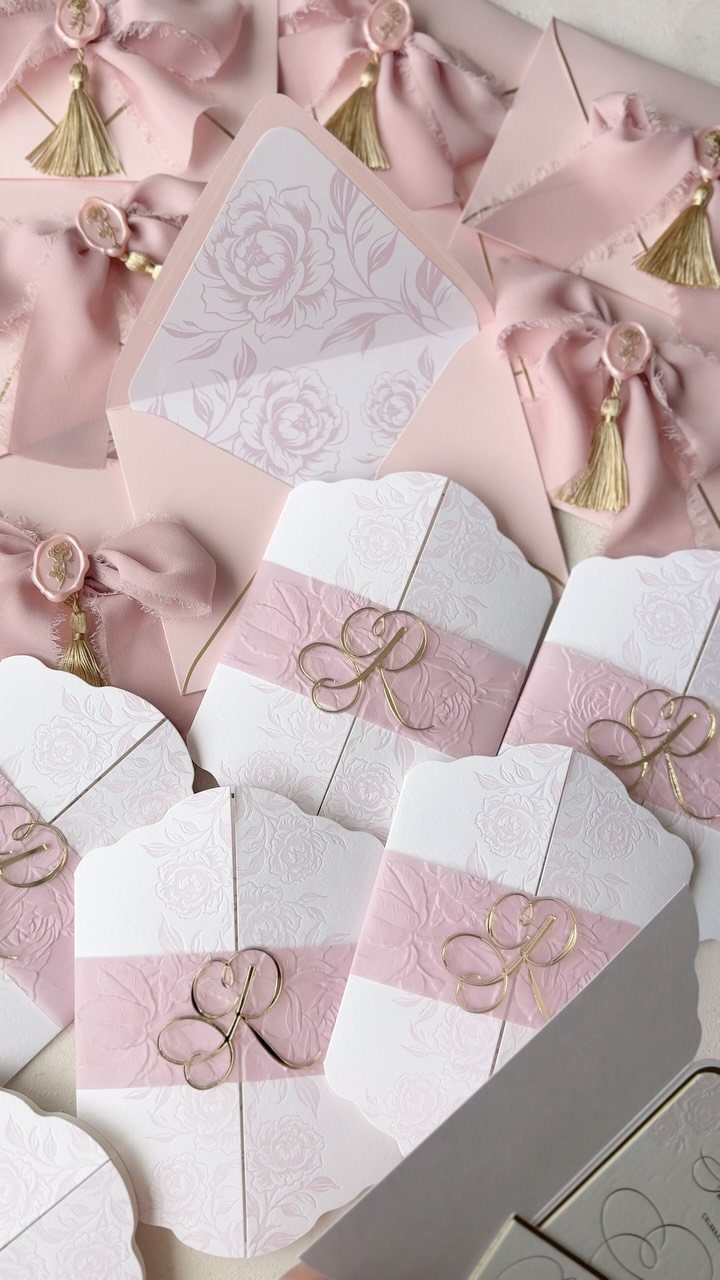
Layering lets each piece do one job: a pink wrap on the outside, a monogram in the middle, and a small seal or tassel as the last detail. Depth comes from stacking, not from crowding any single layer.
Limit each suite to a pair of ribbon or accent types, three at the very most, or the layers start to fight each other.
In pink and white, a gold wire bow adds shine and holds its shape, which is useful when you are tying dozens.
I would assemble one finished sample first, then copy it exactly for the rest.
5. Frayed Ribbons
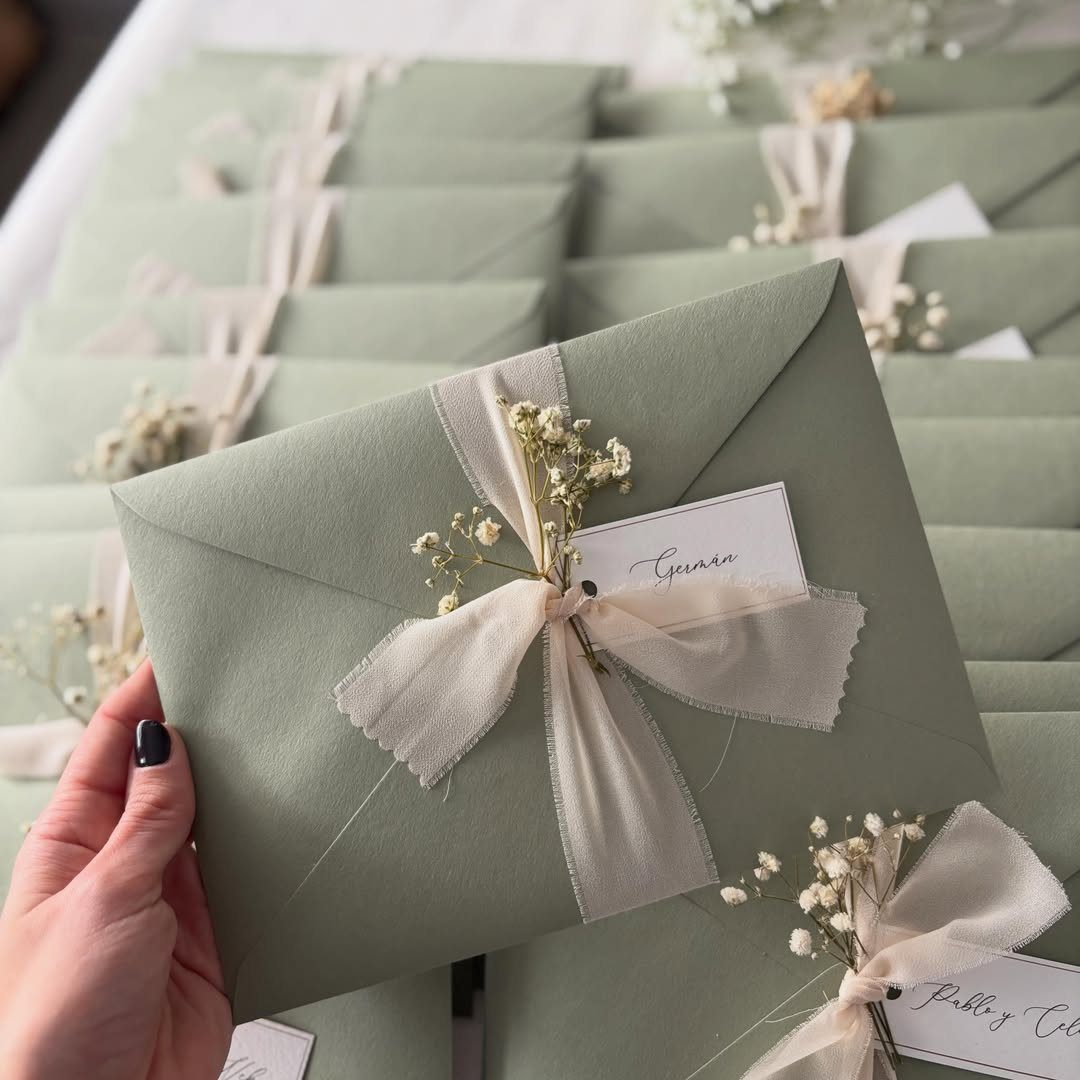
Frayed ribbon is the easiest way to make a handmade invitation look deliberate. The loose, soft edges suit a sage green envelope and dried flowers, and they hide small imperfections in your knots.
Choose a cream ribbon that frays naturally, and tie it loosely instead of pulling it tight. A tiny sprig of baby’s breath tucked under the bow adds texture for almost no cost.
I like this one for casual weddings, where polished and perfect would feel out of place.
6. Vellum Wrap Tied with Ribbon
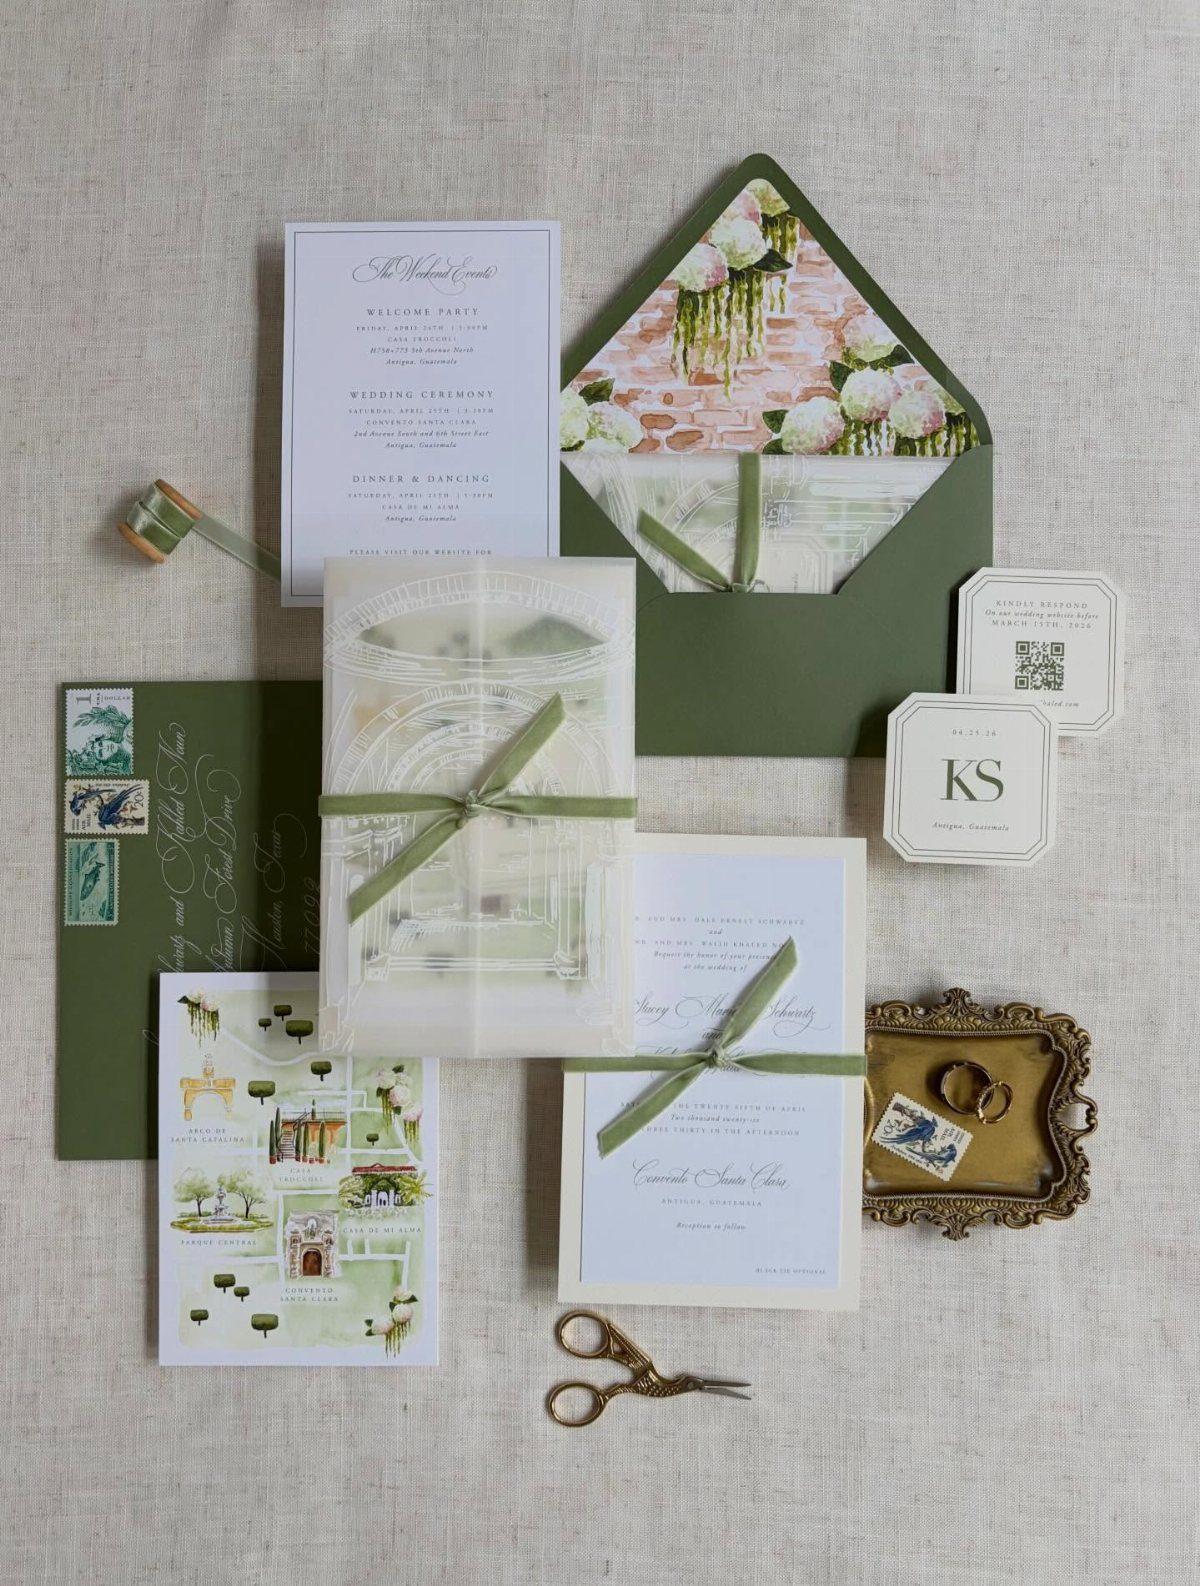
Translucent vellum folded around the invitation, then tied with a thin ribbon, gives a layered, soft look while letting the printed text show through. It pairs well with an olive green ribbon and a floral envelope lining.
Use a thin ribbon so the knot stays small and snug against the vellum. Tie it securely, since the wrap is smooth and can slide.
Cut your ribbon pieces in one sitting with sharp scissors so every tie matches.
7. Patterned Ribbon with Tassel Accent
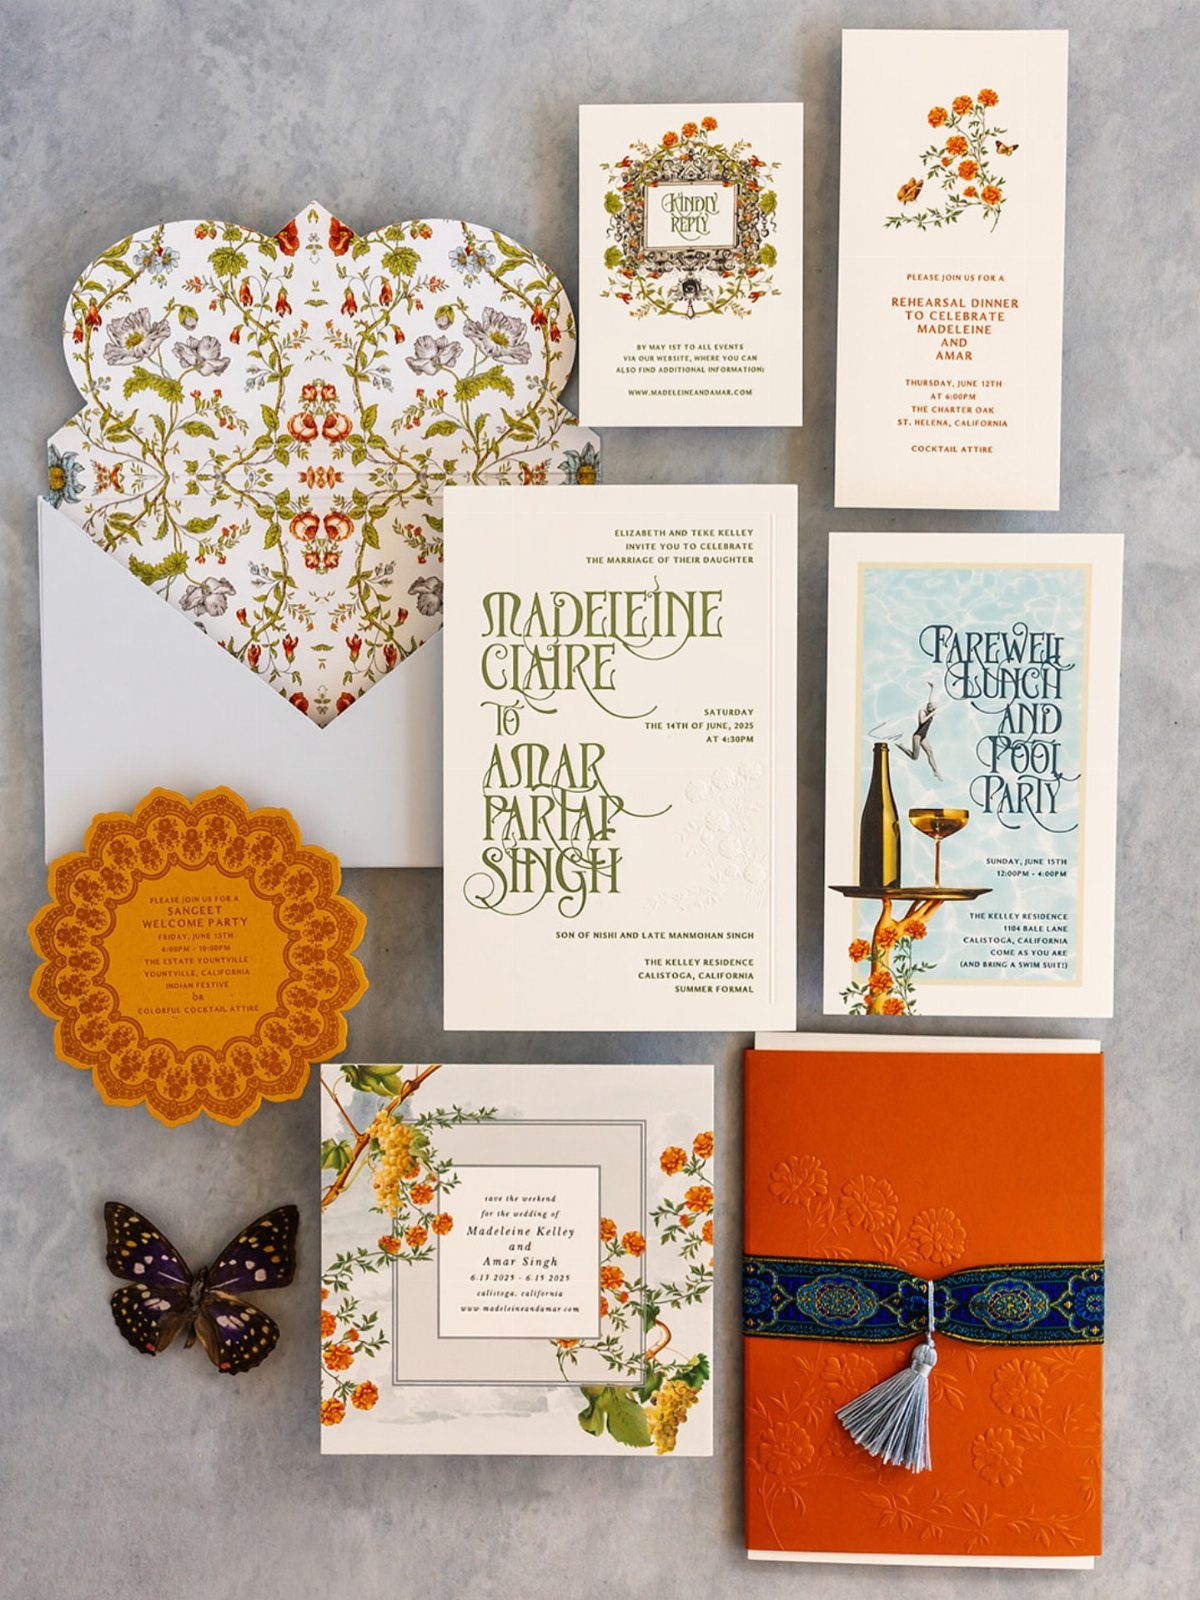
A printed ribbon with a tassel at the end gives a plain card a second pattern to play with.
Blue ribbon against an orange card works because the 2 colors sit opposite each other, and a grey tassel keeps the contrast from getting loud.
Choose a ribbon whose pattern repeats in small scale so it still reads once it is wrapped.
Match the tassel to a neutral already in the suite. Tie one sample first to see how much tassel length you want hanging free.
8. Ribbon Around the Envelope
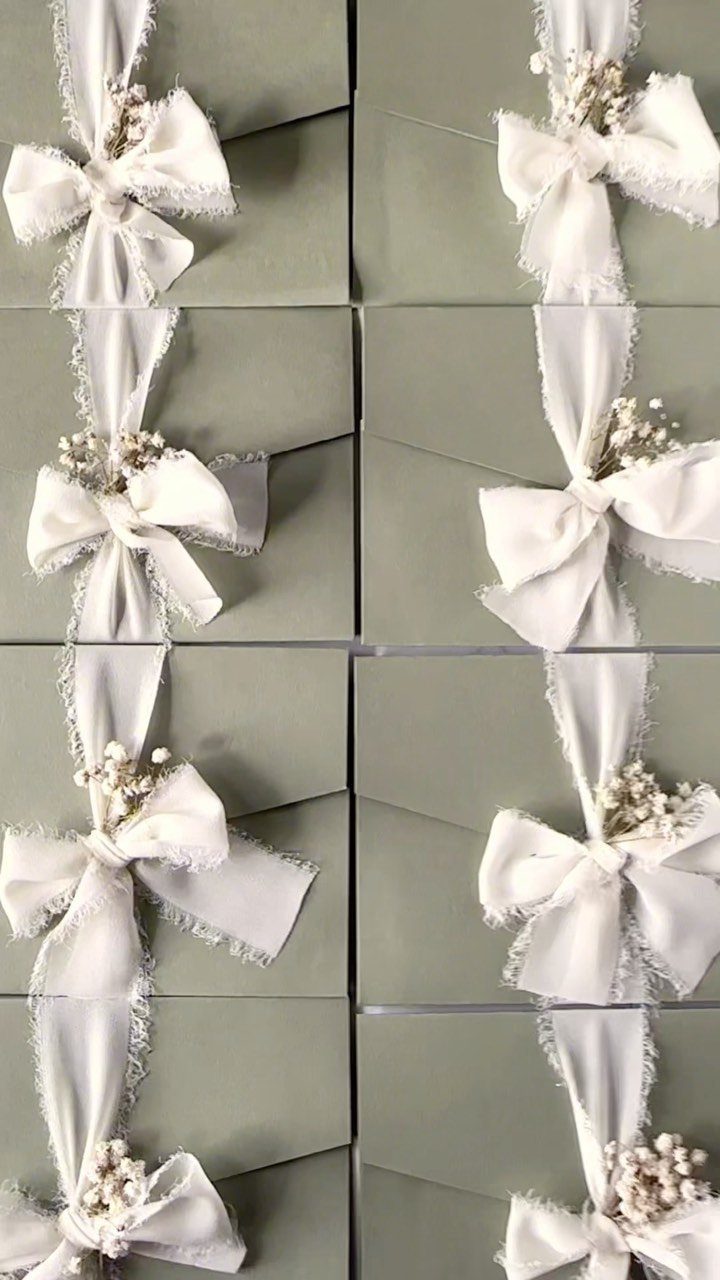
Sage green envelopes tied shut with a white fabric ribbon turn the outer layer into the decoration, so the invitation inside needs no extra styling.
Tuck a small sprig of dried white flowers under each bow. White on sage stays soft, and fabric ribbon is easy to knot and re-tie if a bow comes out lopsided.
I would tie the envelopes after addressing them, so the bows stay crisp and out of the way while you write.
9. Flowing Ribbon Flat Lay
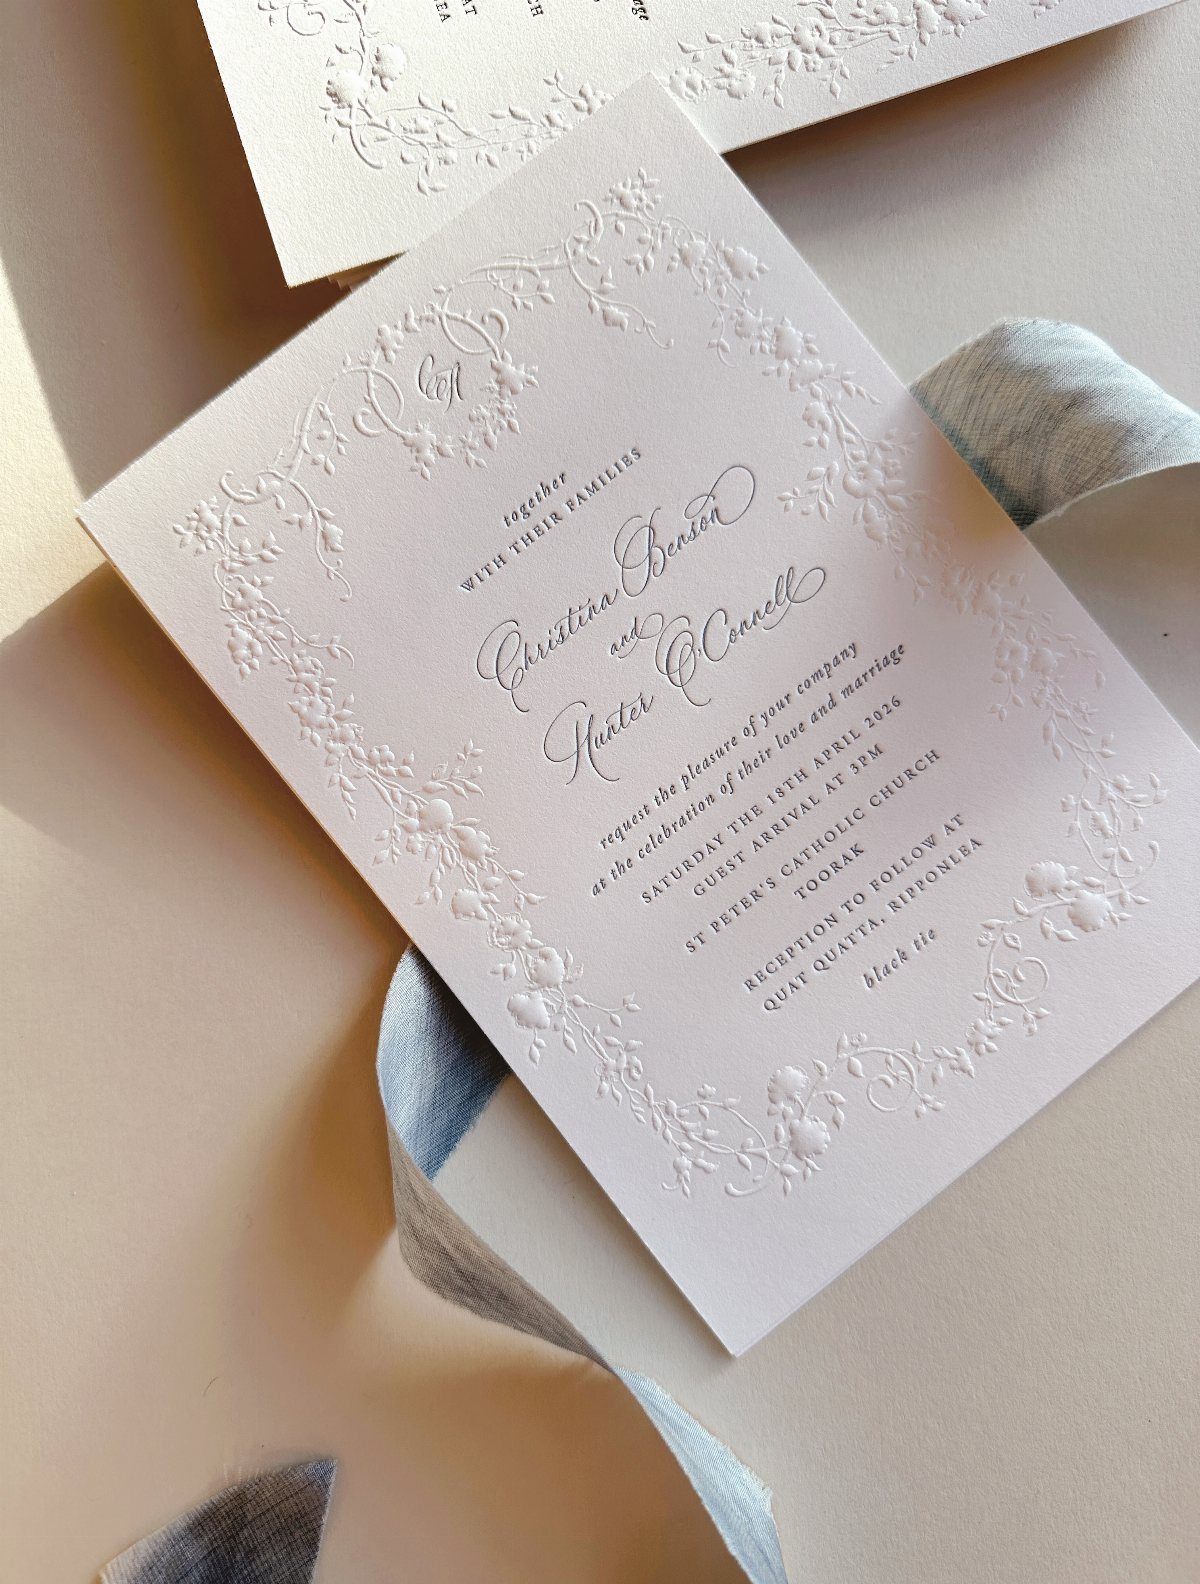
Leaving the ribbon unknotted is the whole idea here: a light blue silk length draped loose beside a white embossed card, with nothing tied at all.
This is a styling move for your photographer or your own flat lay, not something that gets mailed.
Silk wrinkles easily, so press it before the shoot and let it fall in long, loose curves. Keep the background neutral so the blue and the embossing are the only things competing for attention.
Personalization Options
Ink color, typeface and paper are the three levers, and each one changes the mood of the suite before anyone reads a word. If you use a template, check how many lines of text it is set up for.
A free template I like sets 11 lines at 29pt spacing and leaves the top line empty, so a hole punch has room to work without clipping your text.
Longer wording or a heavier embellishment means adjusting that spacing, so test-print one copy before you run the whole batch.
Mixing ribbons is another way to personalize. Two or even 3 ribbons in different materials will shift the style of the same card, and a change in texture does more than a change in width.
A bit of vintage clip art can make the card feel like yours, as long as it stays one small image.
Choosing Ribbon Colors
Start with the bow style, because it sets how much color the ribbon needs to carry.
A thin satin ribbon suits a simple look and can be almost any shade. A giant bow, especially on glitter or laser cut cards, reads as luxury and works best in one confident color.
For a formal, classic invitation, a tied bow is the usual pick, and it looks right at a banquet hall wedding.
If you order from a printer, look at the color options before you pick your theme shades.
Many printers offer a range of ribbon colors on ribbon-style invitations, including retro designs with floral accents, so you can match your palette without custom work.
Take the ribbon to your actual card stock and look at both in daylight, preferably with the spool in hand, since shades shift indoors. Screens shift color, and a near match can look like a mistake in person.
Frequently Asked Questions
How much ribbon do I need for wedding invitations?
Multiply the ribbon length per invitation by your guest count, then buy a little extra.
For example, 100 invitations at 30 cm each comes to 3,000 cm, or 30 meters. At 3 meters per roll that means 10 rolls, and I would add an 11th for mistakes and late additions.
How do I choose a ribbon color for my invitations?
Pull the color from the artwork, ideally one of its darker tones, and let the bow style decide how much color the ribbon carries.
Thin satin ribbon works in nearly any shade, but a big, full bow looks best in one bold color.
How do I keep a ribbon from slipping on vellum?
Tie a snug first knot under the bow so the wrap stays put.
Vellum is smooth and slides, so a thin ribbon that sits tight against it holds better than a bulky one. Make a single practice bow on a spare card, and only then tie the rest of the stack.
How many ribbon or accent types can I put on one invitation?
Stick to 2 types, or 3 at the very most. Beyond that the layers start to compete with each other.